Just because you’re a beginner, doesn’t mean your designs have to be basic! There are lots of beginner-friendly options to give your pottery that je ne sais quoi. In this article, we’ll cover 4 categories of pottery design ideas for beginners: wax designs, underglaze, layering glazes, and carving to turn your clay creations from ordinary to extraordinary. So, pick your method, roll up your sleeves, and let’s get those pots decorated!
Wax Designs
Many potters turn to wax for making their glazing process a breeze. By applying wax to the bottom of a piece, glazes are repelled, leading to a much simpler cleanup. But the functionality of wax isn’t its only perk; its repelling properties can also be harnessed to create stunning designs! You can paint fun and funky designs using wax, glaze your piece as normal, and then watch your raw clay designs reveal themselves!
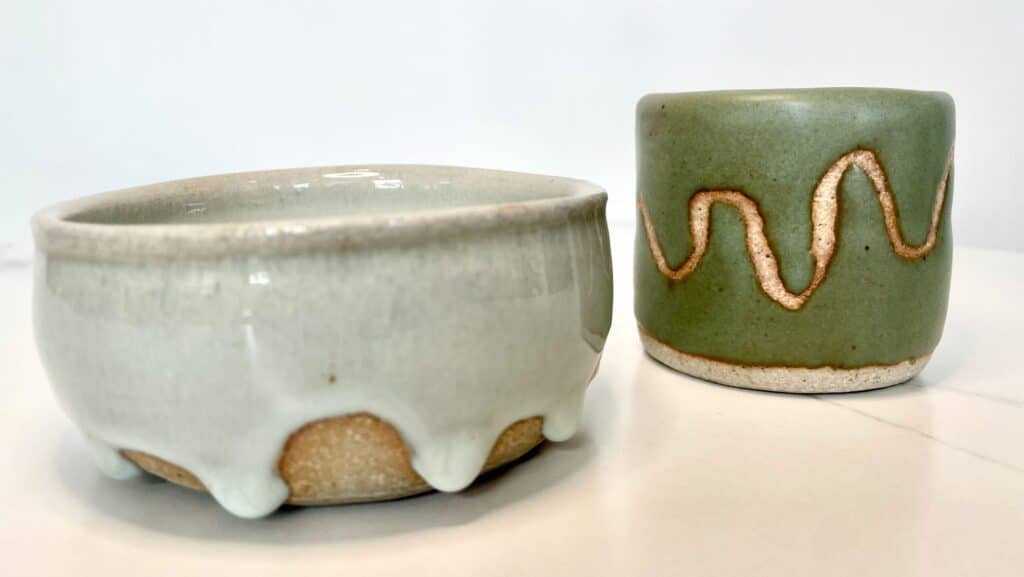
One of my initial forays into pottery involved using a small paintbrush to draw a whimsical squiggly line around a bisqued piece. After dipping it in glaze and giving it a few touches with a sponge, the result was nothing short of charming. Another experiment involved waxing the bottom of a piece and extending the wax into a playful, scalloped shape. The use of a runny glaze created an illusion of the glaze dripping off the piece, resulting in a fun visual effect.
Underglaze
Underglaze is a dream come true for the painterly potter. It turns your ceramic piece into a blank canvas, waiting to be adorned with your heart’s most creative designs. There are several ways to apply underglaze. You can start with greenware, before its first firing, perfect for techniques like sgraffito where designs are carved into the glazed piece. Alternatively, apply it post-bisque, which is my preferred method. Painting on the design and then dunking it in clear glaze not only enhances its beauty but also ensures it’s food-safe. Remember to follow the underglaze instructions closely, as some may require multiple coats for full vibrancy.
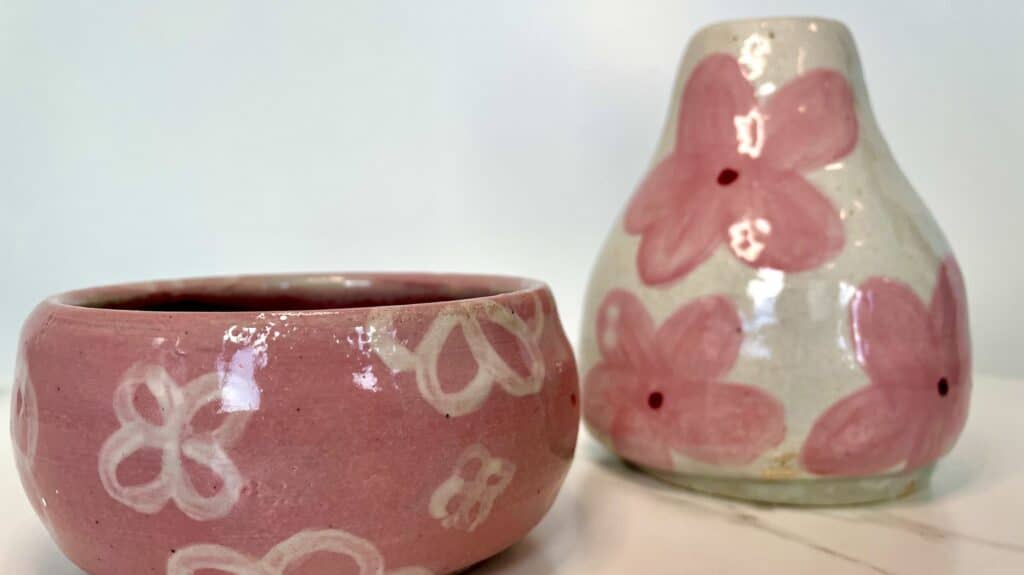
In my early days, I was clearly on a real flower kick! These are a few pieces from my first beginners classes—the small flower bowl is a staple in my day-to-day, as I use it to hold my keys.
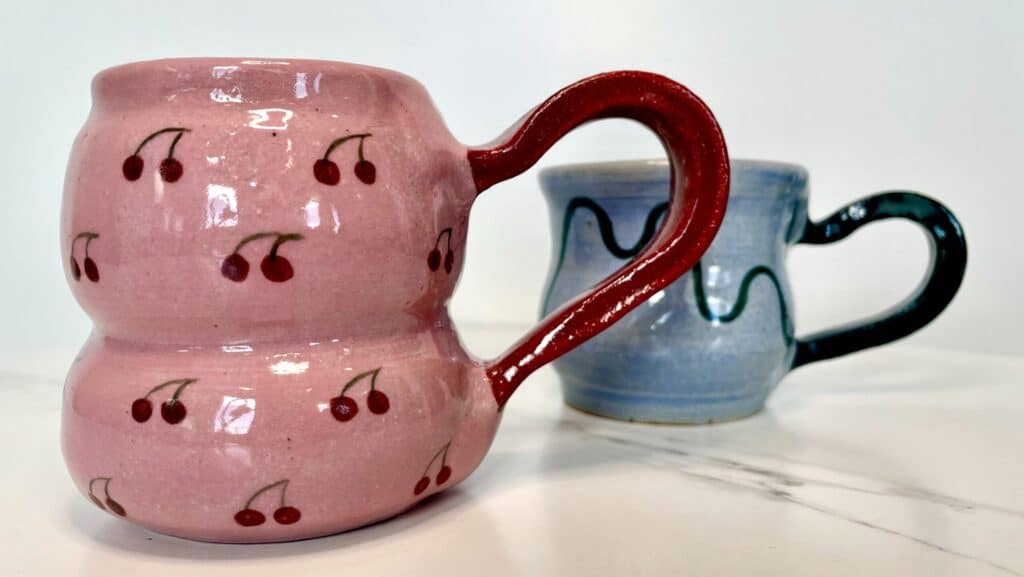
I also did a few mugs with underglaze—the cherry one turned out quite nice. And clearly, I love a good squiggly line!
Layering Glazes
For those seeking truly eye-catching pottery, layering glazes is a game-changer. This technique can produce mesmerizing, swirly, and speckled effects that are impossible to achieve with a single glaze. Some of it is about trial and error—personal experimentation is key, and you might find some of the most stunning combos! There are, however, a few well-known and loved glaze combos that you can try out:
- Shino over Temmoku: Shino glazes, known for their creamy white to orange appearance, layered over Temmoku (a rich, iron-saturated glaze) can produce lovely contrast and interesting effects where the two overlap.
- Celadon over Textured Glazes: Celadon, a translucent, glossy glaze, often works beautifully over textured glazes or slip. It pools in crevices and textures, highlighting the surface details of the pottery.
- Amaco Potter’s Choice Series: Amaco’s Potter’s Choice line has several glazes that are designed to be layered together. For instance, Blue Rutile over Textured Turquoise can create deep, rich blues with interesting variegation.
- Coyote Glazes: Coyote provides a range of glazes specifically formulated for layering. Their Archie’s series, for instance, is known for its reliability and interesting results when layered.
- Floating Blue over Iron or Rutile Glazes: Floating Blue is a popular glaze that can create depth and variegation. When layered over iron-rich or rutile glazes, it can produce striking effects with blues, greens, and browns.
If you’re more interested in coloring outside these lines, here’s a few tips to get you started:
- Start Small: Begin with test tiles or small pieces to experiment with different glaze combinations. This approach allows you to see the results without committing to a larger piece.
- Understand Glaze Interactions: Different glazes react differently when layered. Some might blend smoothly, while others could create intriguing textures or unexpected color shifts. Research and understand the properties of the glazes you are using.
- Application Technique: How you apply the glaze matters. Try different methods like brushing, dipping, or even spraying to see how each technique affects the final outcome.
- Thickness Matters: Be mindful of the thickness of each glaze layer. Too thick, and you risk the glaze running off the piece during firing; too thin, and you might not achieve the desired effect.
- Document Your Process: Keep a detailed record of the glazes used, their application order, thickness, and firing temperatures. This documentation will be invaluable for replicating successful outcomes or understanding what went wrong in less successful attempts.
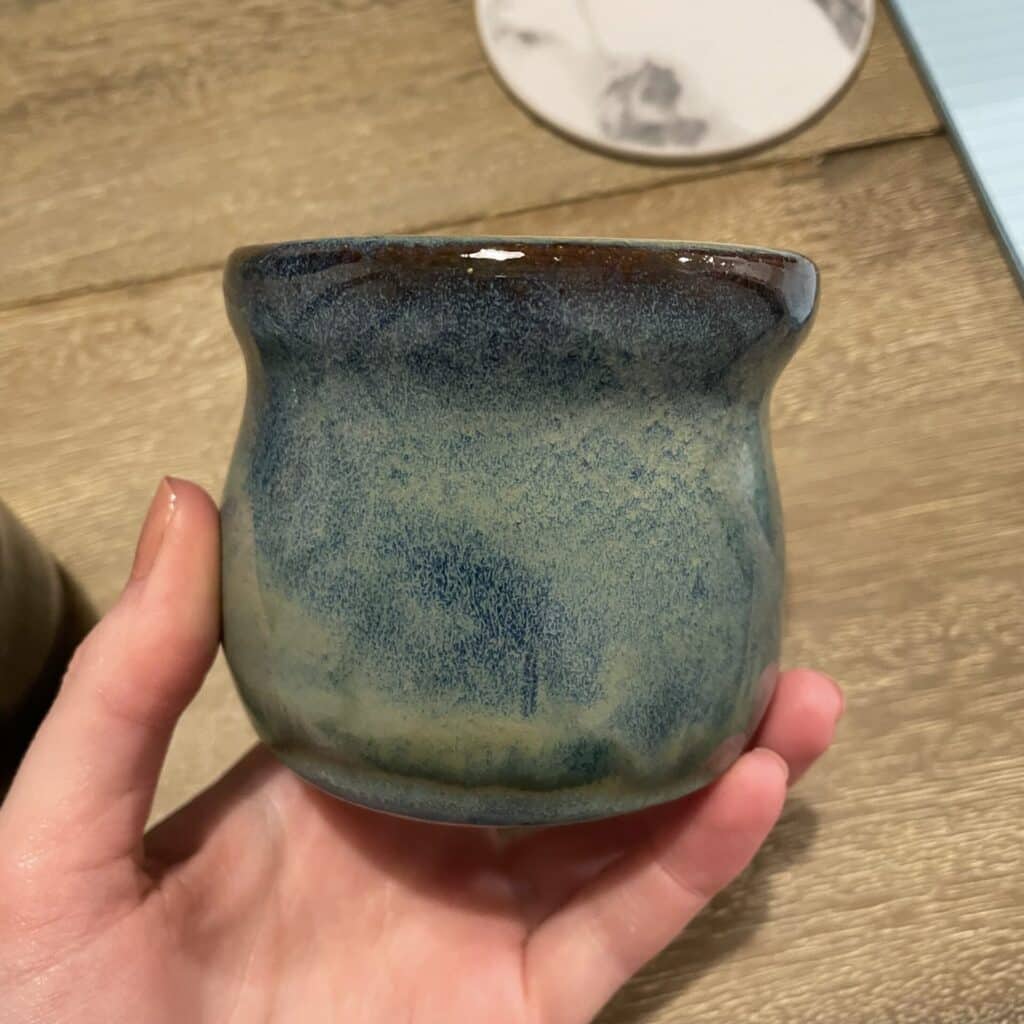
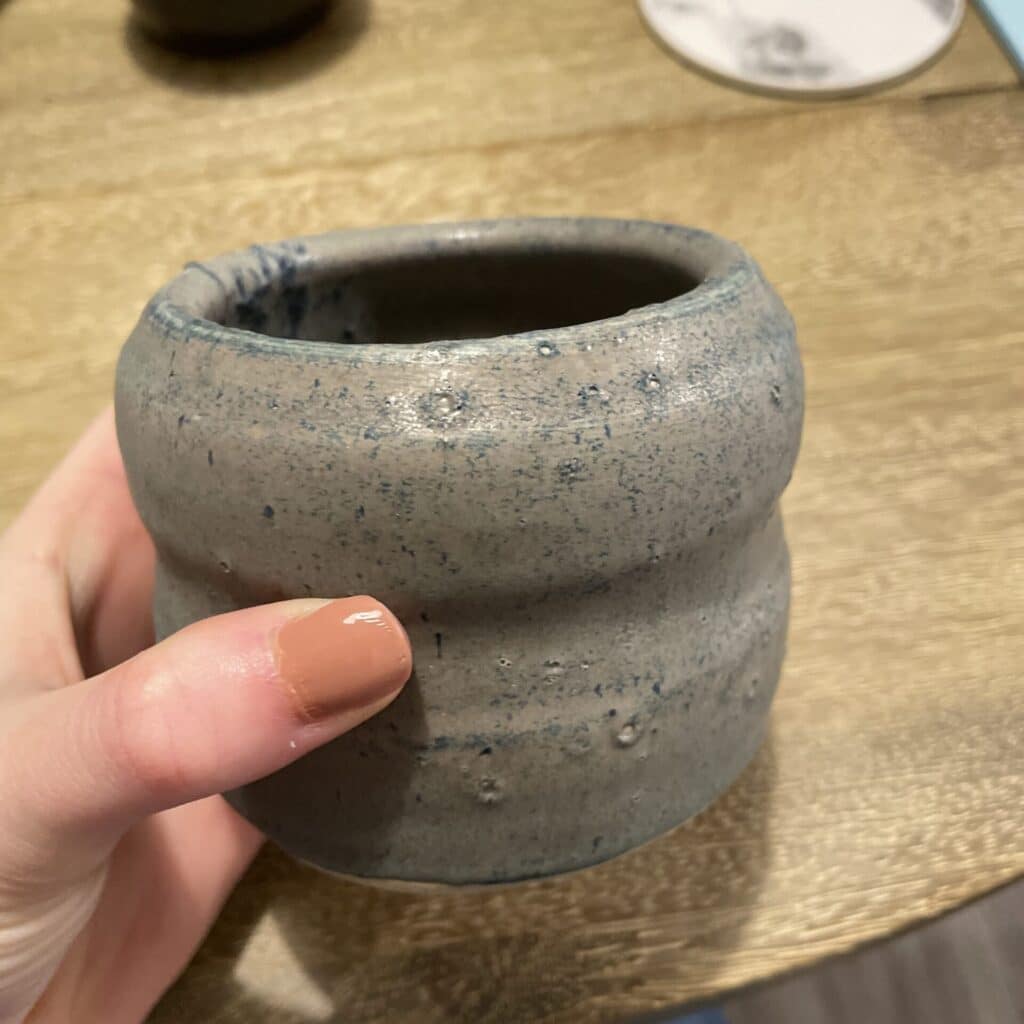
Here’s an example of an awesome layered piece, and one that didn’t quite turn out as intended. It’s all a part of the pottery journey—you live and you learn!
Carving
Carving adds an incredible dimension of texture to your pottery. With the ribbon tool from your beginner’s kit, you can create a variety of textures, from playful zigzags to rustic, bark-like finishes. The best time to carve is during the leather-hard phase when the clay is firm yet malleable.
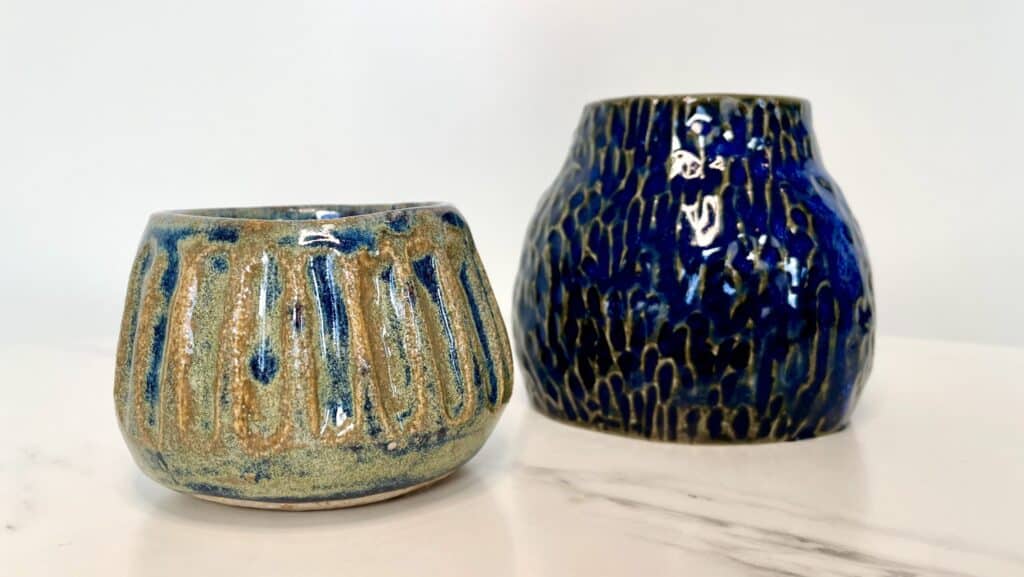
Here’s an example of a coil pot I made with a bark-like texture, and another piece where I carved lines. I used basic tools for these, but check out our article, “5 Must-Have Clay Carving Tools for Trimming & Decoration” for more advice on tools.
Wrapping Up Our 4 Pottery Design Ideas for Beginners
Pottery is an art form that invites you to express yourself in limitless ways. Whether you’re playing with wax designs, painting with underglaze, experimenting with layered glazes, or carving intricate patterns, these pottery design ideas for beginners offer unique ways to bring your creative visions to life. Remember, the beauty of pottery lies in the journey of creation, where every trial and error leads to a new discovery. So embrace your artistic spirit, explore these techniques, and most importantly, have fun crafting your ceramic masterpieces!

Leave a Reply