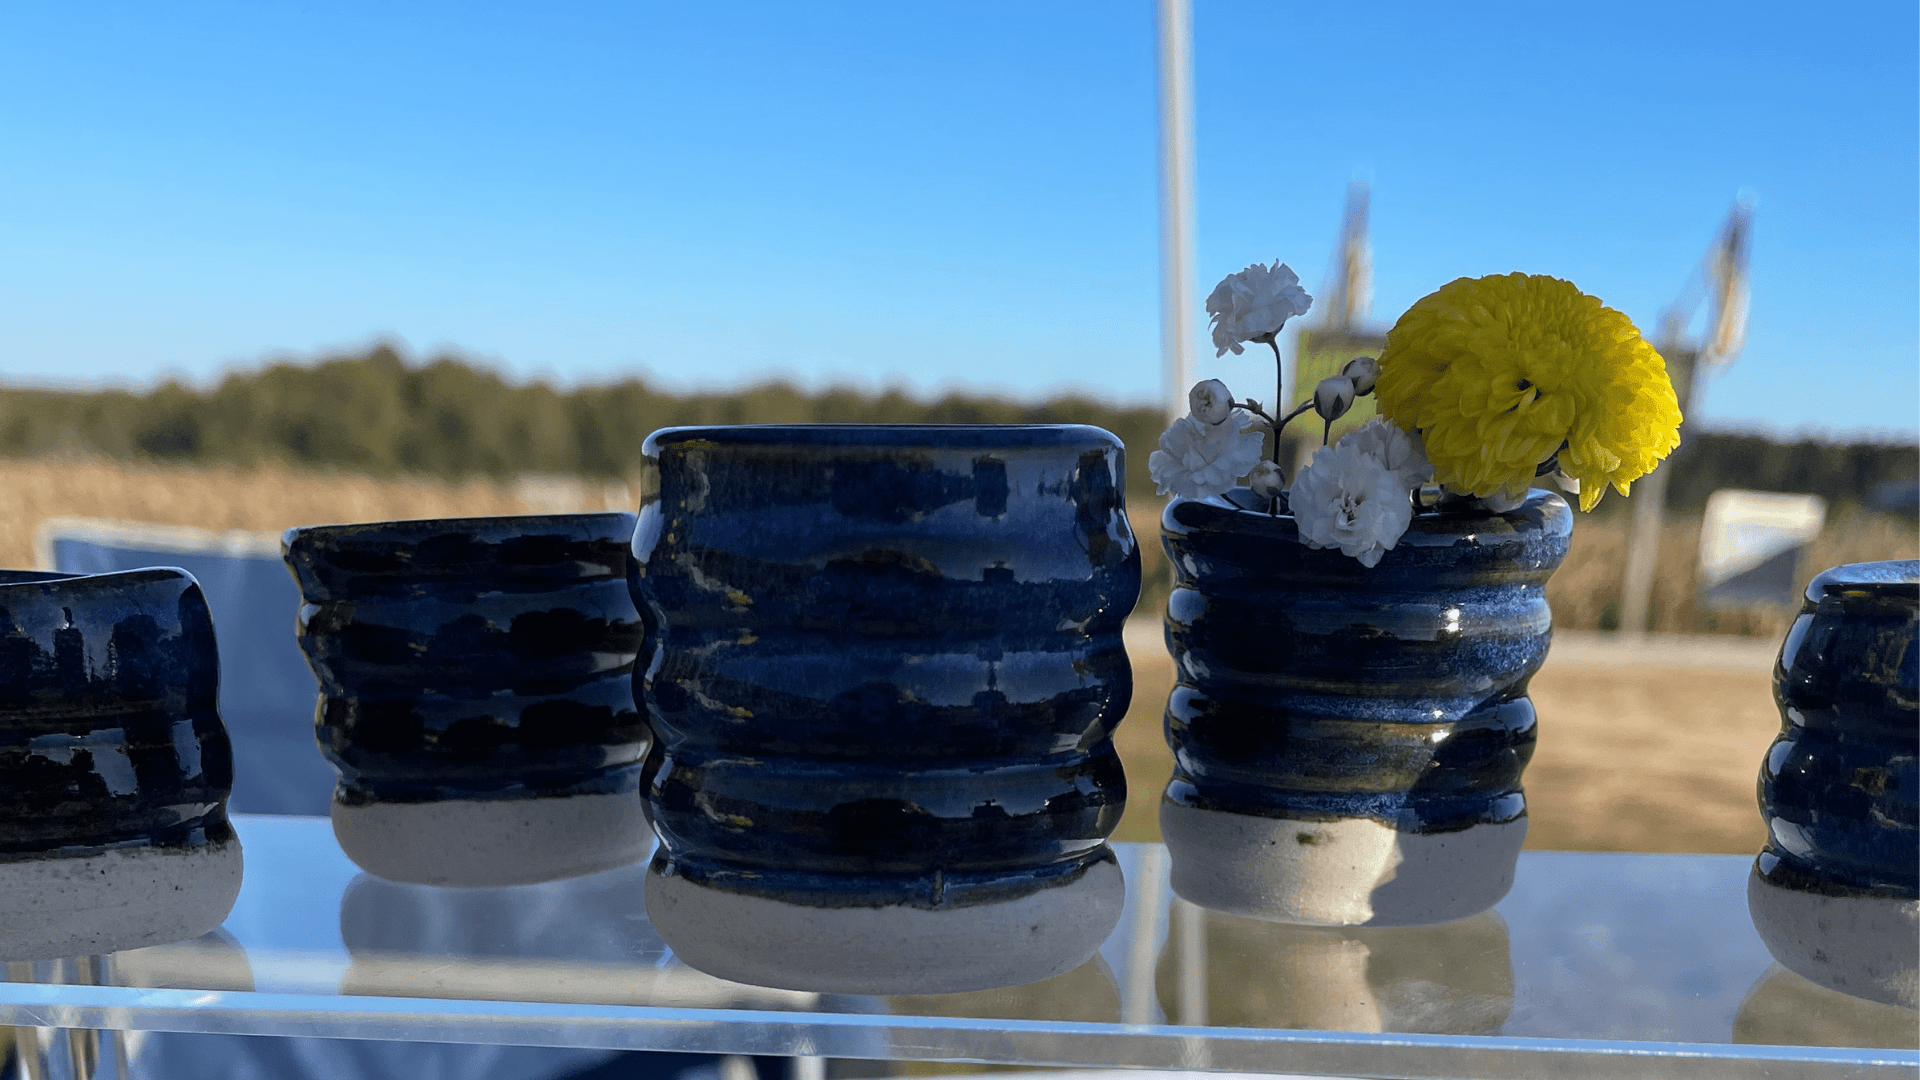
It’s no secret—we’re obsessed with mini pottery. From testing the latest mini pottery wheels to setting up an entire mini pottery booth at a market, we’re fully embracing the tiny but mighty world of small-scale ceramics.
Mini pottery is a fantastic home-friendly version of wheel throwing, but before you dive into your latest creative obsession, there are a few key things to know. We’re breaking down everything you need to create your own mini pottery studio at home. Let’s get into it!
Choosing Your Wheel for Your Mini Pottery Studio
Sure, hand-building is an option, but if you want to take your mini pottery studio to the next level, a wheel is the way to go. After testing our fair share of mini pottery wheels, two stand out as the best:
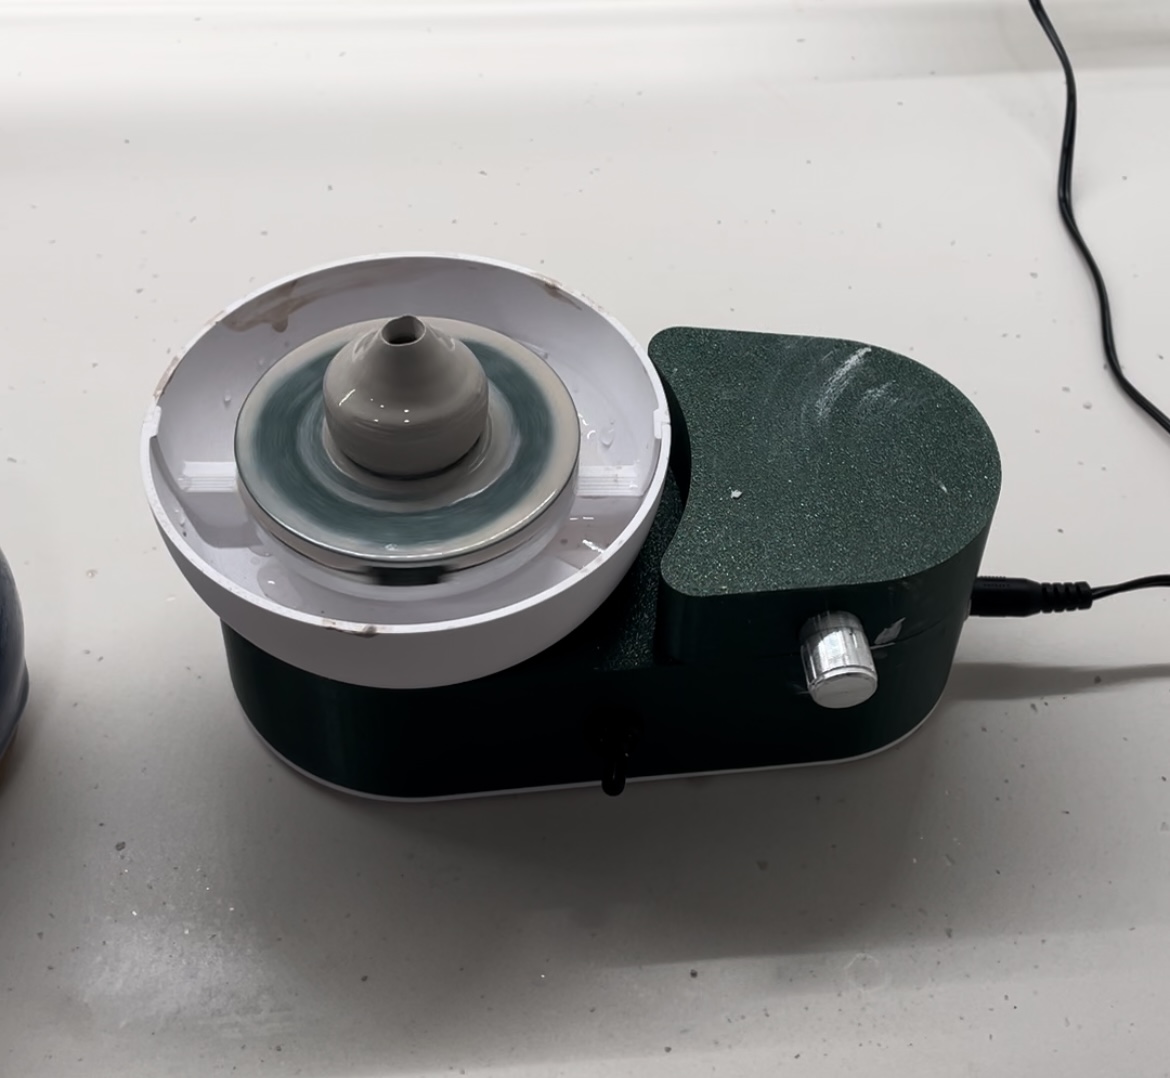
Coming in at under $40, the Vevor Mini Pottery Wheel is easily the best budget option for setting up your home mini pottery studio. Our favorite features? It’s compact, comes with two wheel heads, has a splash pan, and comes with an array of modeling and pottery tools to help you get started. Basically, its a kit that has everything but the clay!
The Small Ceramics Mini Pottery Wheel, on the other hand, is on the pricey side—you’ll be shelling out over $200 for this bad boy. But, there are many things that make this little powerhouse stand out from every other wheel on the market. The first, and our favorite, is the bat system. You can snap a bat on the wheel head, and easily swap pieces in and out without disrupting your workflow. Another huge perk? The torque is awesome. If you put pressure on the wheel head, it won’t slow down like the Vevor Mini Pottery wheel does. Last, but certainly not least, the magnetic splash pan is awesome and makes clean up a breeze. We find ourselves using this wheel far more than any other wheel!
Tools
Some tools from full-sized pottery translate well to the mini world, but you’ll need a few smaller additions to keep things precise.
Ribs
Ah, ribs. One of our favorite tools. We love how they level-up our shaping during wheel-throwing, and were ecstatic to learn that Small Ceramics sells mini AND micro ribs. From zigzag to bubble shapes to ribs that help define the foot of a vase, these small 3D printed ribs will give your mini pottery a professional finish. They’re a must-have for any mini pottery studio!
Shaping Tools
If you get your hands on the Vevor, you get a set of shaping tools with the wheel. If you choose to purchase a wheel elsewhere, here’s a great pack of tools from Amazon. For pulling walls or collaring pots, smaller tools with pointed edges are ideal—trust us, using your hands will make you feel like a giant trying to sculpt with tweezers.
Trimming tools
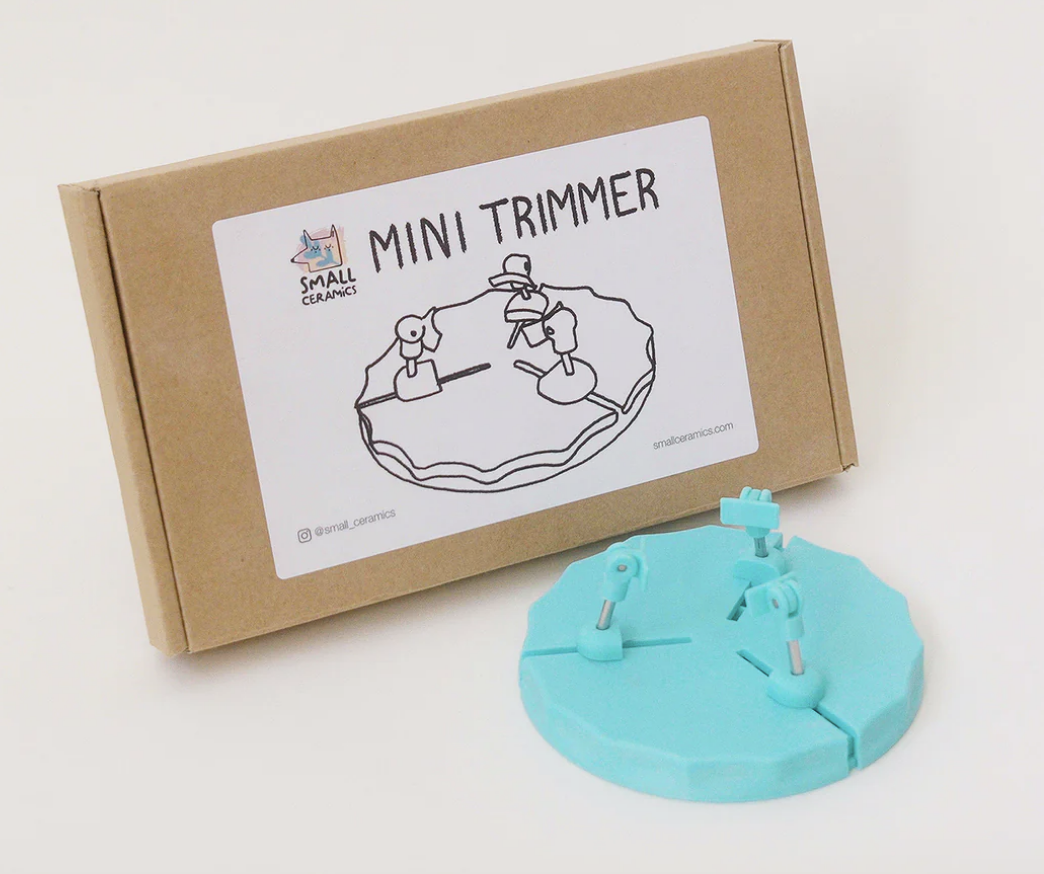
Mini trimmer: This Small Ceramics tool is basically a tiny Giffin Grip. Secure your piece in place, twist counterclockwise, and trim with ease.
Trimming tools: While a the mini trimmer isn’t necessary (small logs of clay to hold your piece will do), trimming tools ARE necessary. And just like your shaping tools, you’ll want something small enough to feel like you have control over your trims. These aluminum trimming tools are designed for precision, and the tips are just under 1cm wide for all your small trimming needs!
Clay
To get your clay for your mini pottery studio, head to a local clay supply store, or order from a reputable brand like Blick. Blick has brands like Laguna, Standard Clay, and Amaco that are all well known in the pottery world. Make sure you know what temperature you’ll fire your clay to, and crosscheck before purchasing just any old bag of clay! As for what to choose, that’s up to you. We’re partial to a white stoneware, but explore to your heart’s content!
Glazes
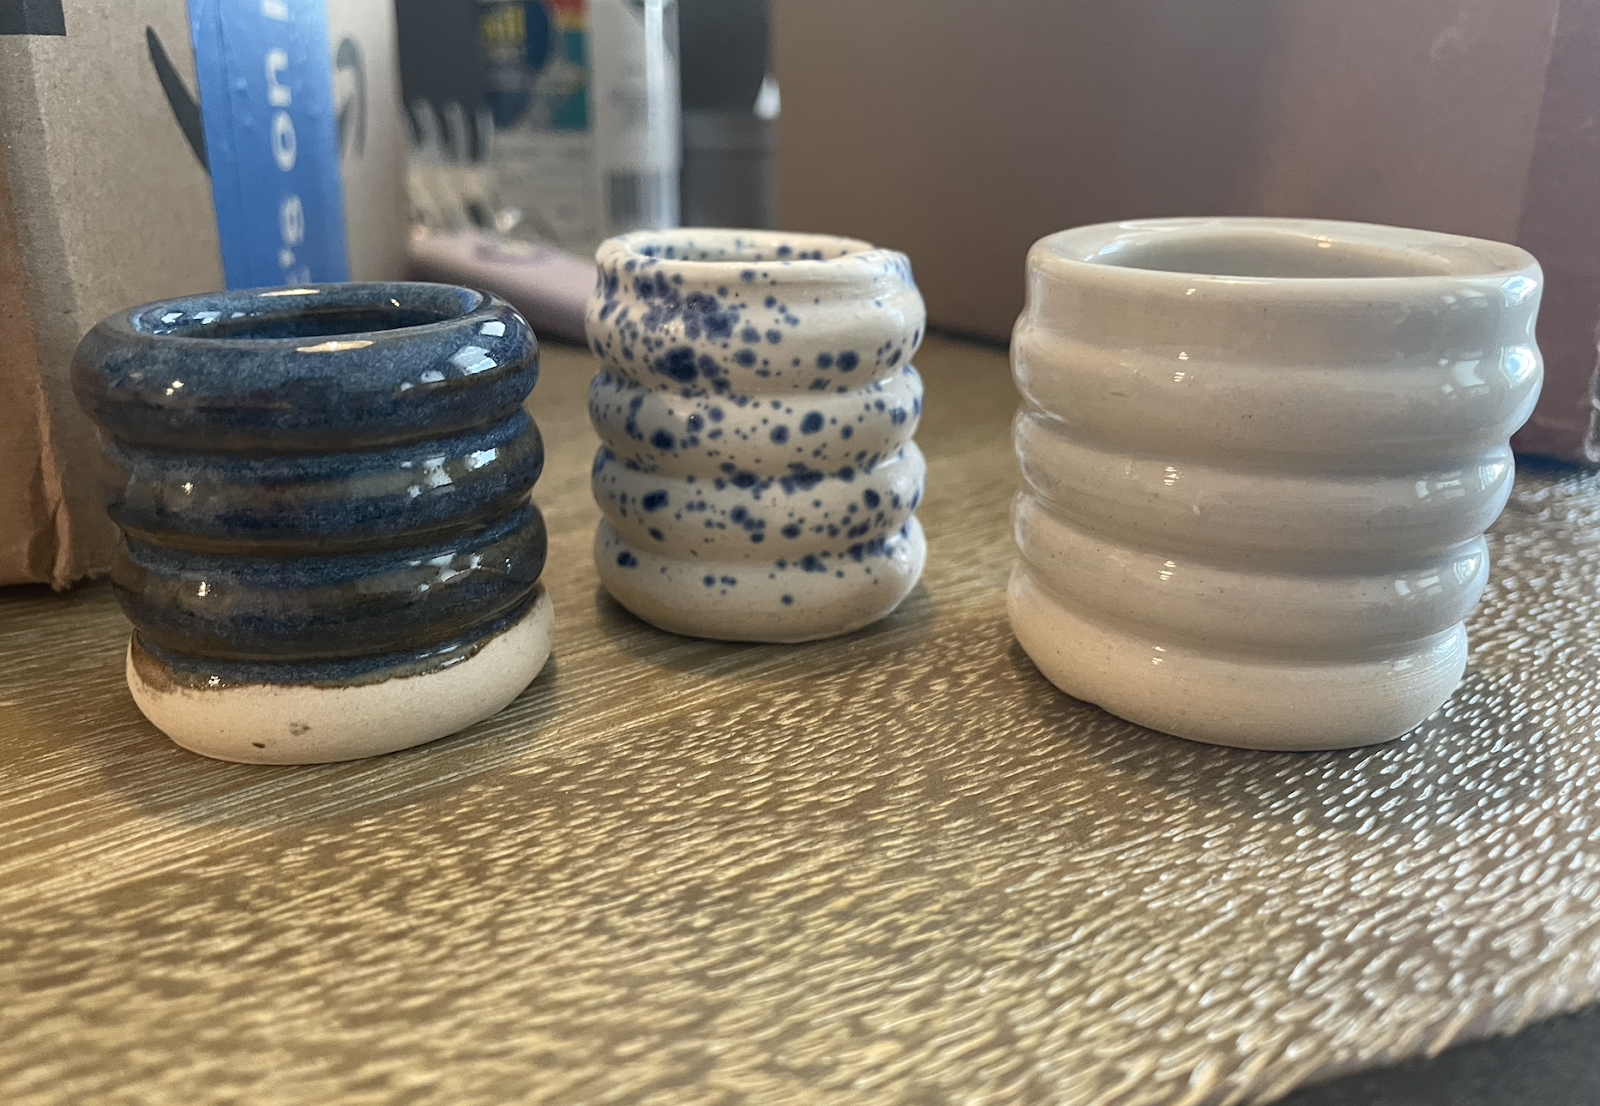
If you’re working with kiln-fired clay, you’ll need glazes to bring your tiny masterpieces to life. Here are the ones that made my mini market lineup (yes, I’m in my blue period):
- Amaco Celadon Glazes – Ice, Pint
- Mayco Stoneware Crystal Glaze
- Speedball Mid-Fire Glaze, Variegated Lapis
Each of these turned out stunning, and I can’t wait to use them again!
Firing for Your Mini Pottery Studio
If you’re throwing at home, we recommend taking your pots to your local studio, or finding a kiln near you. With temperatures reaching 2220 degrees Fahrenheit for cone 6, kiln firing is best left to the pros! We’re had some good luck finding access to a kiln on Kiln Share, a site where potters list their kilns for public use. All you have to do it reach out and inquiry about their kiln availability and rates. S/o to Jordan for firing my mini pots for my market!
If you’d like to try firing at home, some potters have reported success with microwave firing. And no, we don’t mean your kitchen microwave, we mean a dedicated pottery microwave! Small Ceramics has a video on how to do it, and everything you’ll need. Essentially, once you’ve acquired an old microwave, you’ll need to purchase a microwave kiln, kiln papers, and tongs. Remember to BE CAREFUL and try this at your own risk. Also note that your piece will not be food safe, as your microwave doesn’t reach the same temperatures that your kiln does!
Mini Pottery Studio Location
The great thing about mini pottery is that you don’t need a dedicated studio—it doesn’t take up the amount of space that normal-sized pottery does, nor does it make as much of a mess! I personally throw at my kitchen table, and to protect the wood, I use a Waterproof vinyl tablecloth. I like that it has elastic to stay in place on the table, and its a good way to ensure that my space stays clean!
Wrapping Up
With the right wheel, tools, clay, and firing plan, you’re ready to dive into the world of mini pottery. Whether you’re making tiny mugs, vases, or full-blown mini dinner sets (ambitious!), the possibilities are endless for your mini pottery studio.
Now go forth and throw—just, you know, small. 😉
Leave a Reply