We know what you’re thinking. A microwave? For pottery? That sounds about as logical as baking a cake in a toaster. But believe it or not, using a microwave kiln for pottery actually works—and it’s a game-changer for anyone making mini pots on their Vevor or Small Ceramics wheels.
All you need is a microwave kiln, a microwave (not your kitchen one, please), some heat-resistant gloves, your freshly crafted pot, and a little glaze. While a traditional kiln can set you back at least $1,000, a microwave kiln is an affordable and surprisingly simple way to fire pottery at home.
So, if you’re ready to take your pottery game to the next level without dedicating an entire room (and a paycheck) to a full-sized kiln, let’s talk about how microwave kilns work, what you need to get started, and whether they’re right for you.
Disclaimer: Microwave kilns reach extremely high temperatures. Use at your own risk, follow all safety precautions, and gear up properly to avoid injury. Safety first, art second.
What you’ll need for your microwave kiln for pottery:

Microwave
This one’s a no-brainer. You’ll need a microwave that’s 100% separate from your kitchen microwave—because trust us, you don’t want a side of glaze fumes with your leftovers. Clay dust, glaze chemicals, and extreme heat are not things you want mixing with your food.
Any microwave will do, but for best results, aim for one with at least 1000 watts—like this one. That power level helps your microwave kiln reach the right temperature for proper firing. Less than that, and you’re basically just giving your clay a warm hug instead of a proper fire-up.

Large Microwave Kiln
This is the MVP of the operation—the thing that turns your tiny clay masterpiece into a fully fired ceramic. A microwave kiln traps heat inside and pushes temperatures up to a scorching 1650°F, hot enough to bisque fire and glaze your piece.
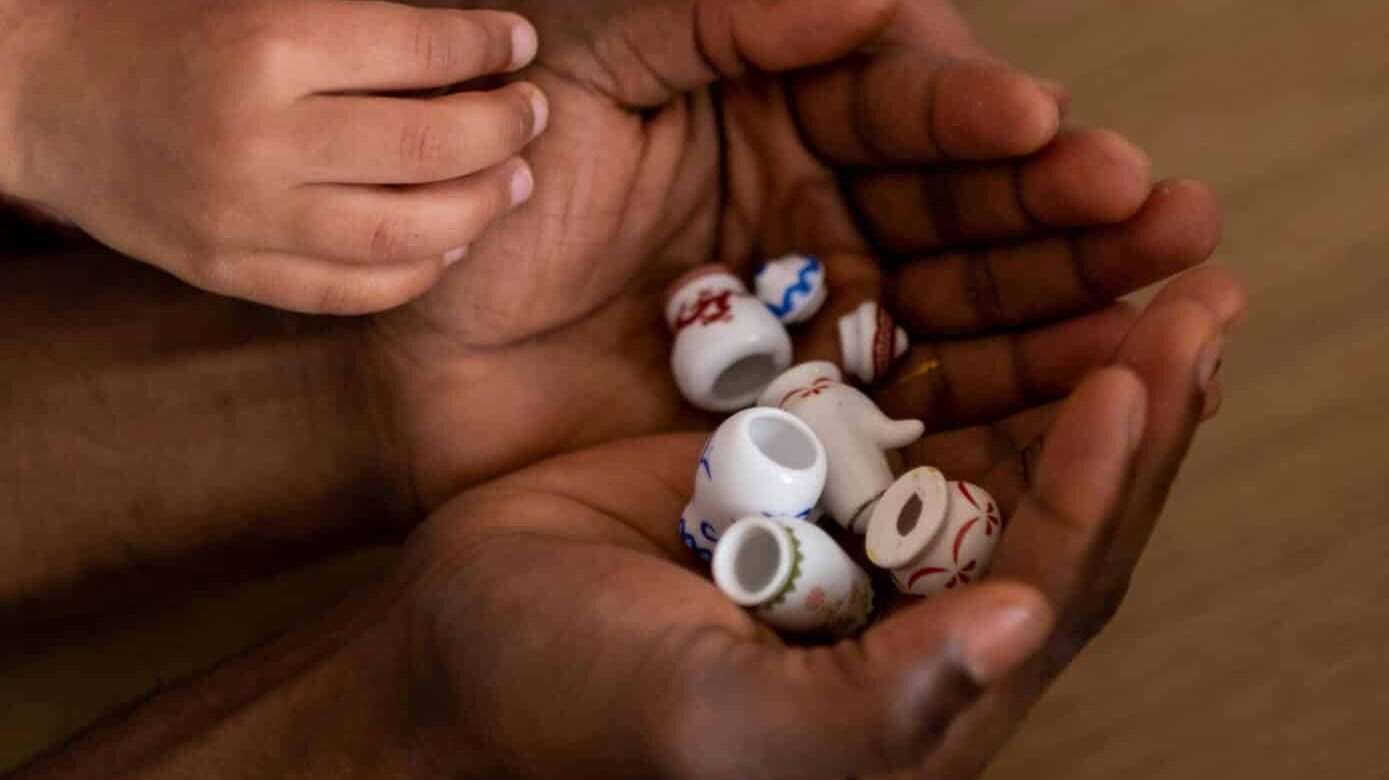
But here’s the catch: Size matters. This particular large microwave kiln has an internal firing chamber of 4.92 inches wide and 1.77 inches tall. Translation? This is strictly for tiny pottery. Think mini bowls, small trinket dishes, or thumb-sized sculptures. If your piece is bigger than that, it’s not fitting in there—no matter how much you try to squish it.

Kiln Papers
Want to avoid a pottery disaster? Then kiln paper is a must. Without it, your freshly glazed pot could fuse to the bottom of the kiln, and trust us—you don’t want to be the person trying to pry a stuck pot off with brute force (spoiler: it won’t end well).
Kiln paper acts as a protective barrier, keeping your kiln safe from glaze spills and making sure your pottery comes out clean and intact. A little investment goes a long way—you can grab a 100-pack for under $20 and save yourself from a lot of frustration (and broken pots).

Tongs
Once your microwave kiln hits 1650°F, the last thing you want is to go full daredevil and grab it with your bare hands. (Unless you enjoy third-degree burns—but let’s assume you don’t.)
Invest in a solid pair of tongs to safely remove the kiln from the microwave. Pair that with heat-resistant gloves and goggles for extra protection—because molten-hot pottery is not the time to test your reflexes.
Pro Tip: Before you even fire up your kiln, practice gripping it with your tongs. You’ll want a secure, steady hold so you don’t accidentally drop your masterpiece when it’s fresh out of the fire. Nothing kills the joy of a successful firing like watching your pot shatter on the floor.

Glaze
Glazing pottery in a microwave kiln isn’t exactly an exact science—it’s more like a chemistry experiment with unpredictable results. Since you’re not reaching cone 5-6 temperatures, some glazes won’t fully mature, meaning you’ll need to test and tweak your process to get the best results.
Based on recommendations from pottery pros in Reddit forums, Penguin Glazes seem to work fairly well in microwave kilns. Underglazes are also an option, but they won’t give you that glossy finish—expect a matte look instead. Ultimately, your results will depend on your microwave’s power, your kiln’s heat retention, and your firing times.
Cost Comparison: Microwave Kiln vs. Mini Kiln
Let’s talk numbers. If you’re weighing the cost of a microwave kiln against a traditional mini kiln, the savings are huge.
Microwave Kiln Setup (~$200 total)
- Microwave: ~$100
- Microwave Kiln: ~$50
- Kiln Paper, Tongs, Gloves, Safety Gear: ~$50
Now, compare that to a mini kiln, which starts at $1,905 (and that’s for a budget-friendly one). The difference? A casual $1,700 still in your bank account.
Other Firing Options
If you don’t want to commit to a kiln, you can always find a local pottery studio or use a kiln-sharing site (like Kiln Share). For these, you’ll pay per firing, which can can run you $30+ per session. So, if you’re planning to fire pottery often, a microwave kiln pays for itself fast. That said, traditional firing vitrifies the clay and makes it food-safe, so if you’re making mugs or dinnerware, you may still want to use a real kiln when it counts.
The Microwave Kiln for Pottery Process
Before anything, make sure your piece is BONE DRY. Any leftover moisture = a potential clay-tastrophe (yes, your pot can literally explode in the microwave).
A traditional kiln gradually increases heat, and we want to mimic that process as much as possible. If your pot heats up too fast, well…boom. To avoid pottery carnage, follow this method:
Bisque Firing Steps:
- Set your microwave to 50% power and fire for 2 minutes.
- Then, increase to 100% power and fire for 3 more minutes.
- Do NOT open the microwave immediately. Let it cool for at least 20 minutes before checking your pot. (Yes, we know you’re impatient, but trust us, it’s worth it.)
Glaze
Once your pot is successfully bisqued, it’s time for the glaze! The key here is giving the glaze enough time to crystallize while still following a controlled heating pattern.
Glaze Firing Steps:
- Start at 50% power for 3 minutes.
- Then, increase to 100% power for 5 more minutes.
- Again, DO NOT open the microwave immediately. Let your piece cool for at least 20 minutes before peeking inside.
Microwave Kiln for Pottery Inspiration
If you love The Great Pottery Throw Down, you might recognize Adam—a contestant turned mini pottery master. He’s taken his skills to the next level by doing Raku fires in a microwave kiln, and the results? Absolutely stunning. His work proves that you don’t need a massive setup to create beautiful ceramics. Go check him out for some serious inspiration!
If you’re hooked on microwave kiln firing and want to take your skills to the next level, Nicola Moore has you covered. She runs an entire online course dedicated to mastering microwave pottery. For a one-time fee of $88, you’ll get expert troubleshooting tips, firing techniques, and all the insider knowledge to help you perfect your process. You can check out her instagram for some of her beautiful work.
Final Thoughts: Is a Microwave Kiln for Pottery Worth It?
If you’ve made it this far, you’re probably at least microwave kiln-curious—and honestly, we get it. It’s a low-cost, space-saving, and surprisingly effective way to fire tiny pottery at home. While it won’t replace a full-sized kiln (especially if you need food-safe ceramics), it’s an incredible tool for mini pottery, test pieces, and creative experimentation.
Plus, let’s be real—there’s something oddly thrilling about turning a household appliance into a mini ceramic powerhouse.
So, if you’re ready to dip your toes into the world of microwave kiln firing, grab your gear, experiment with your firing times, and let us know how it goes! Who knows—you might just discover your new favorite way to fire pottery. Happy firing!
Leave a Reply