
Introduction to Ceramic Cookies
Pottery, especially hand building, is a lot like baking. You roll out your “dough”, cut out shapes, and place in an oven! Cookies are just one of the many connections. What are cookies? While they seem like sweet treats, they actually protect the kiln shelves in a glaze fire. Your piece will sit on top of a cookie, ensuring that any runn-y glaze only lands on the cookie, not on the kiln shelves or other pieces. Potters call them cookies, because typically, they are round flat bisqued pieces of clay. In this article, we’ll explain how to prep your piece for the kiln and make cookies!
The “Recipe” for Ceramic Cookies
Step 1: Preparing the Clay ‘Dough’
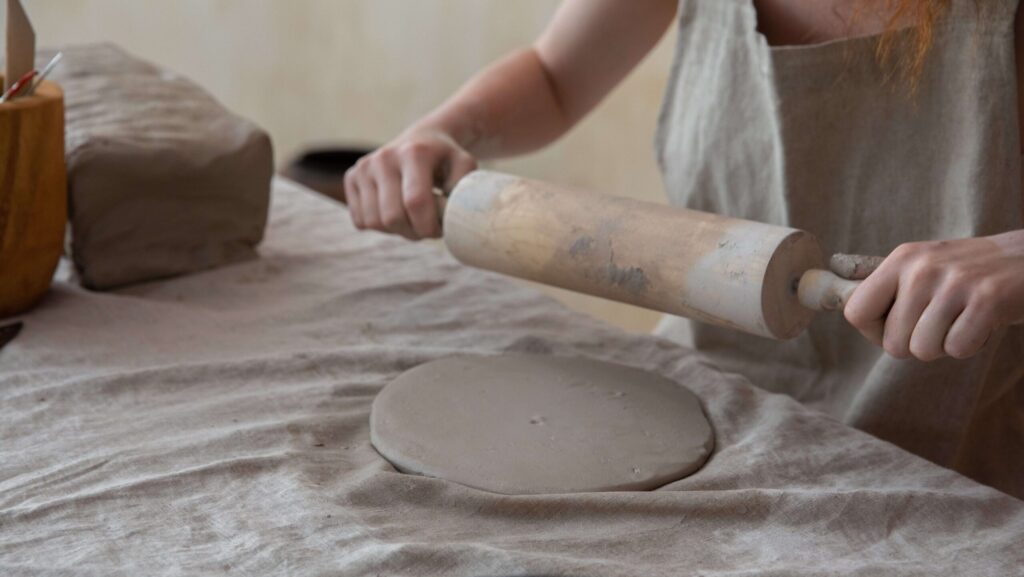
Start by taking a few pounds of clay. Like beginning a pastry, work the clay between your fingers to flatten it. Ensure that this is done on a slightly porous surface (like wood) to ensure that the clay doesn’t stick. Roll out the clay to about a half inch to 3 ⁄ 4 inch thickness. Ensure to flip the clay onto the other side every now and then, and roll out from many angles.
Step 2: Cutting the Perfect Size
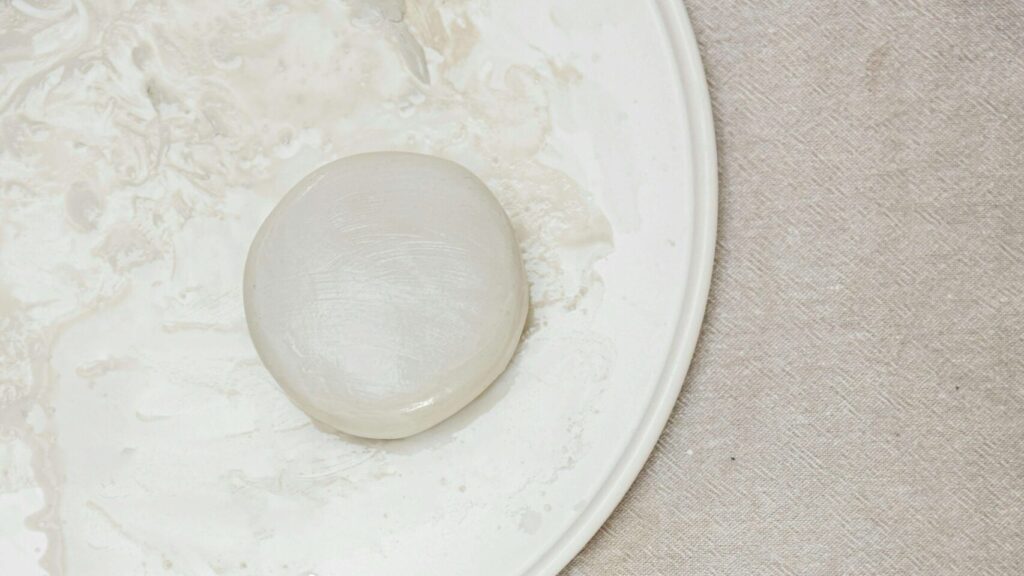
You’re going to want your cookies to be slightly bigger than your piece, but not too big—you don’t want them to take up a ton of space in the kiln. Your cookie should be about a half inch bigger than your piece on all sides. And remember, clay does shrink! So accommodate for that when you create your cookie—you can use our clay shrinkage calculator to ensure your cookie is big enough!
Typically, if you’re creating cylindrical pieces on the wheel, your “cookies” will be circular—that’s why we call them cookies 🙂 However, cookies can be any size to accommodate for your piece.
Step 3: Drying and Bisque Firing
Patience is key here. Once your cookies are ready, let them slowly dry out for a week or two—then you’ll put them through a bisque fire.
Once your ceramic cookies go through bisque, you’re ready to use them! And, the good news is, cookies can typically last up to 5-10 uses. Once melted glaze covers the surface, it’s time to discard your cookie.
Step 4: Prepping Your Piece for a Glaze Fire
Your cookie helps keep the kiln nice, and clean. But there are a few other steps you should take to ensure you’re being a kind potter, and make your life easier!
- A clean base is critical. Ensure that there is no glaze on the bottom of the piece. This will make your pottery piece stick to the cookie, and it will be VERY hard to get off. When you glaze your piece, make sure you use wax on the bottom of the piece to repel any glaze. Or, if you don’t have wax, you can always wipe the bottom of your piece with a sponge to remove any glaze!
- Use moderation in glazing. Just like baking, everything is best in moderation! Ensure that your piece does not have excess glaze. If you’re dipping your piece into a glaze, it should not be in there for more than a few seconds. Thick glaze will run more, and will often result in your pottery piece attaching to the cookie. If you know that the glaze you’re using is runny, take care to leave a raw clay margin about a half an inch or an inch towards the bottom of the piece. This gives the clay a bit of room to run, without things getting messy!
- Handling glaze mishaps. If your glaze does run and attaches your piece to the cookie, don’t panic! I’ve had some success holding my piece carefully, and running my wire cutter between my piece and the cookie and few times. Trying to use your hands to remove your piece from the cookie could wind up breaking the piece.
Wrapping Up
We’ve mixed, rolled, and baked our way through the wonderful process of making ceramic cookies. Just like whipping up a batch of your favorite cookies in the kitchen, crafting these essential pottery tools is both fun and rewarding. They’re the unsung heroes in the world of glazing, keeping our kiln shelves neat and our pottery pieces looking top-notch.
Think of these steps – from kneading your clay ‘dough’ to patiently waiting for the bisque fire – as the secret recipe for pottery success. The joy of seeing your creations come out of the kiln, perfectly glazed thanks to your handmade cookies, is as sweet as biting into a perfectly baked chocolate chip cookie. It’s a blend of art, science, and a bit of magic.
Now, with your newly gained know-how about keeping the base of your pieces clean, glazing with just the right touch, and smoothly handling any glaze goof-ups, you’re all set to be the master chef in your pottery studio. Here’s to happy potting and the wonderful world of ceramic cookies – the secret ingredient for pottery perfection!
Leave a Reply