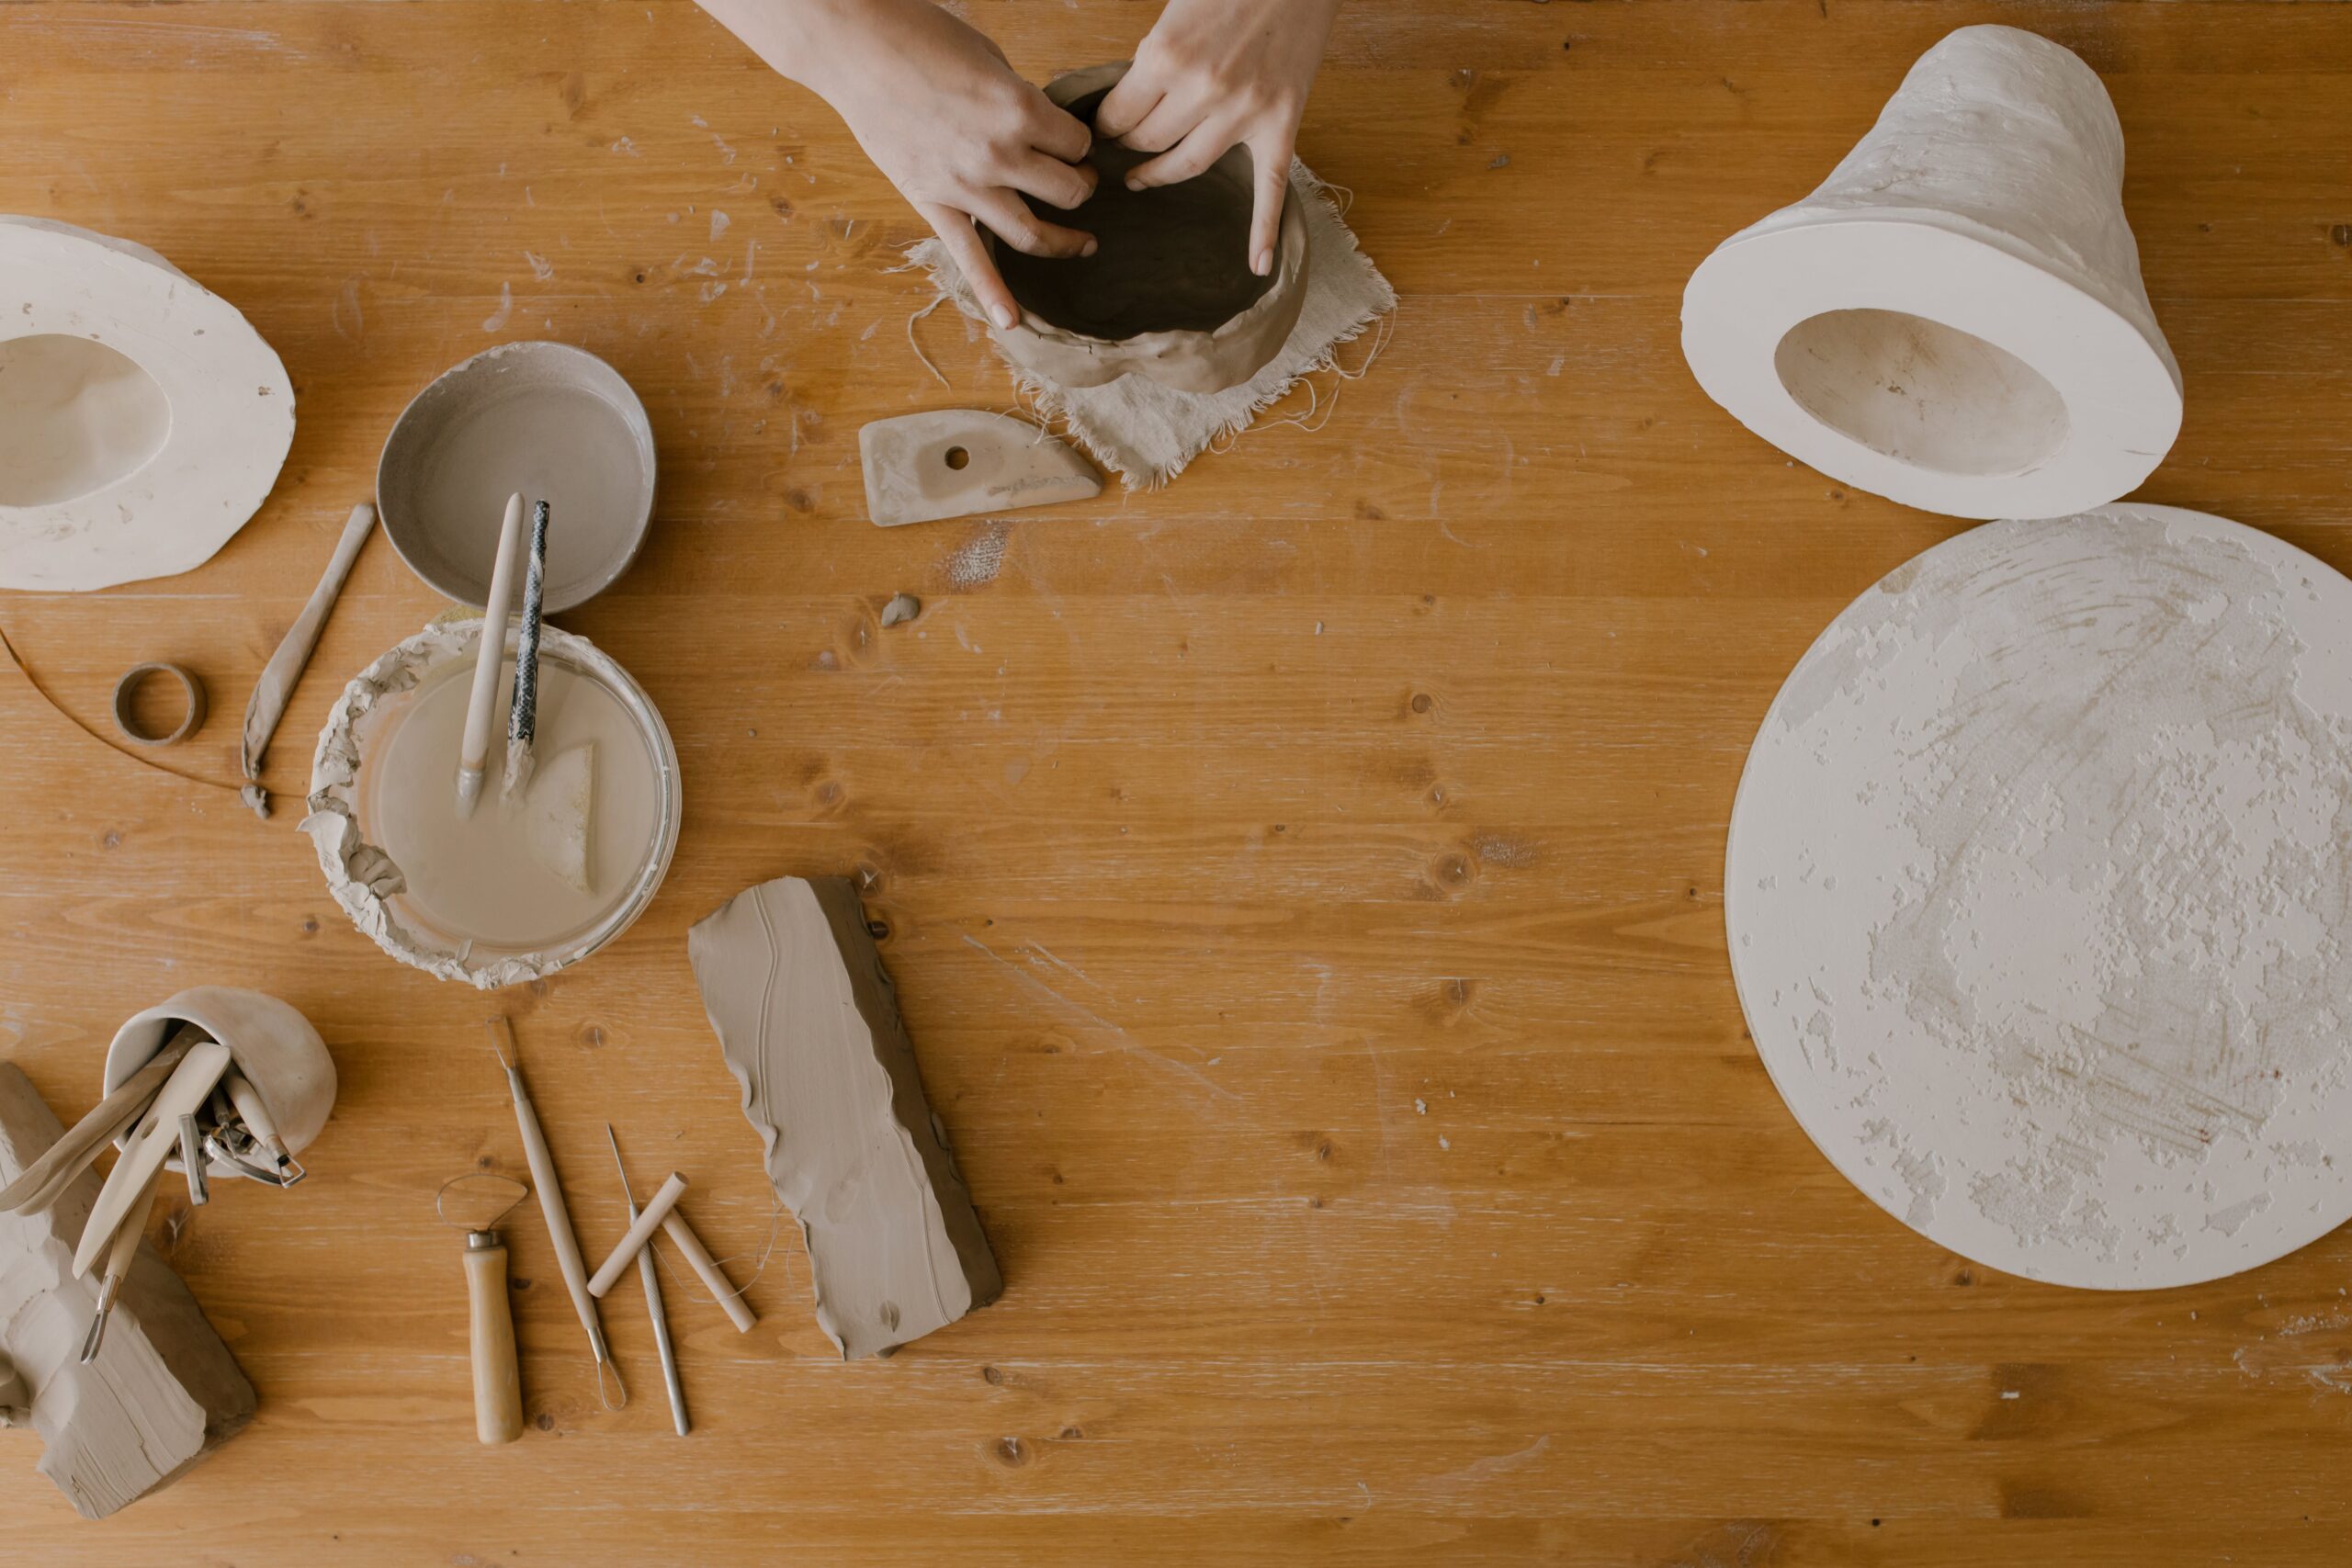
Introduction: Hand Building Ceramics Tools Names Guide
Hey newbie potter! Welcome to the wonderful, messy, and utterly satisfying world of hand building pottery. Armed with your beginner kit, you’re ready to make some truly fantastic works of art. But we can’t help sharing a few extra tools that will make your life easier, and your pottery more professional. We’re here to break down hand building ceramics tools names, and their uses. These tools are all ones that you can use at home, and turn your space into a studio! We’re sharing hand building essentials that are easy to use, worth the investment, and will help your pottery dreams take shape. Ready to dive in? Let’s go!
Wire Cutter
AT A GLANCE
- Cut your clay

First up, we have the wire cutter. This tool gets the hand building party started—open up your fresh bag of clay, hold the wire taut with two hands, and slice cleanly through your clay block. This is the tool you’ll come back to to cut your clay into workable chunks—just remember to wedge first!
The Needle Tool
AT A GLANCE
- Cut out shapes from slabs
- Score pieces for attachment

You’re a sharp creative, so you need sharp tools! This pointy precision instrument will be your friend to cut out shapes from your clay slabs (Slabs are evenly rolled out sheets of clay—think dough that’s ready to be turned into cookies!). Our pro tip is to use the needle tool to trace around a template—hold it steady and press firmly through the slab!
The needle tool will also be your friend for scoring clay pieces—this is the process of drawing hatch marks into the clay to attach two pieces together. The needle tool makes handles and embellishment possible!
Loop Tool
AT A GLANCE
- Carve and shape clay
- Smooth out surfaces

When you put a clay piece in the kiln, it needs to be hollow (otherwise, it will blow up—yikes!) Use your loop tool to carve out excess clay. You can also use this to smooth your surface, and carve details—this is the larger of your two carving tools, so if you’re looking for more intricate detail work, stay tuned for the ribbon tool.
Wooden Knife
AT A GLANCE
- Smooth coils
- Tidy up edges

Consider the wooden knife your reliable assistant, perfect for smoothing and refining rough edges on your handbuilt creations. Its rounded end is especially adept at seamlessly melding coils together, ensuring a flawless and unified surface for your artwork.
Ribbon Tool
AT A GLANCE
- Carve intricate decorations
- Hollow out clay sculptures

Like the loop tool but smaller, the ribbon tool plays a significant role in hollowing out clay sculptures. You can also create intricate carvings and patterns that showcase your artistic vision.
Ribs
AT A GLANCE
- Compress bottoms and walls for stability
- Smooth surfaces for a polished finish

Ribs are your go-to tool for compressing the bottoms and walls of your handbuilt pieces, ensuring they maintain stability and structural integrity. Both wooden and metal ribs will come in your kit. Both serve the same purpose, but it is important to note that the metal rib is bendable, allowing you to curve the shape to the structure. Its sharp edges can also be used for scoring larger pieces. Be careful when handling the metal rib, as the edges can cut!
Sponge
AT A GLANCE
- Maintain malleability with water
- Smooth and refine surfaces
- Remove excess glaze

The sponge is an indispensable tool for maintaining the malleability of your clay throughout the hand building process. It helps in smoothing and refining surfaces, ensuring a seamless and professional finish for your handbuilt artworks. Additionally, it efficiently removes any excess glaze, contributing to the final pristine appearance of your pieces.
Additional Tools
While these are the tools that come in your kit, you may want to add a few extras that will help you out.
Spray Bottle
If you’ve ever thrown on the wheel, you know that your piece needs water to stay malleable. Hand building is no different! A small handheld spray bottle helps keep your piece moist while you’re working! You can also use the spray bottle to ensure your piece doesn’t dry out—that way, you can return to your piece and keep building!
Feather Wire Tool
While the needle tool works for scoring, the feather wire tool makes it easier and faster. If you’re doing a lot of coil work, or need a faster way to attach handles, this tool is for you. Its steel bristles allow you to make multiple hatch marks at once!
Rollers
If you’re working at home, you’ll want a rolling pin for your slab work. You can use rulers on either side of your clay to ensure an even thickness, or you can even purchase rolling pins with adjustable thickness rings. With a rolling pin, you can take work home from the studio, or even start your pottery journey at home!
Wrapping Up
Now that you know these ceramics tools names, you’re well-equipped to embark on your handbuilding journey. While they may seem unfamiliar at first, practice will quickly turn them into your trusted allies, helping you bring your artistic visions to life. Get ready to dive in, get your hands dirty, and unleash your creativity with these awesome hand building tools!
Looking for info on throwing? Check out our guide, “8 Clay Tool Names & Uses: Wheel Edition“
Leave a Reply