Introduction: Clay Tool Names Guide
Welcome to the world of wheel throwing! With your starter pack in hand, you’re ready to get your hands dirty, and start throwing your way to a new set of dinnerware or a fresh collection of vases. Before you center your first ball of clay, let’s break down some popular clay tool names. Some will be recurring clay characters, while others will have a shining moment only once in your process. But we’ll break down all those complexities in this clay tool names guide, so you’ll be able to use your arsenal of tools to your advantage!
Wire Cutter
AT A GLANCE
- Cut your clay
- Slice your piece to assess throwing technique
- Remove your piece from the wheel

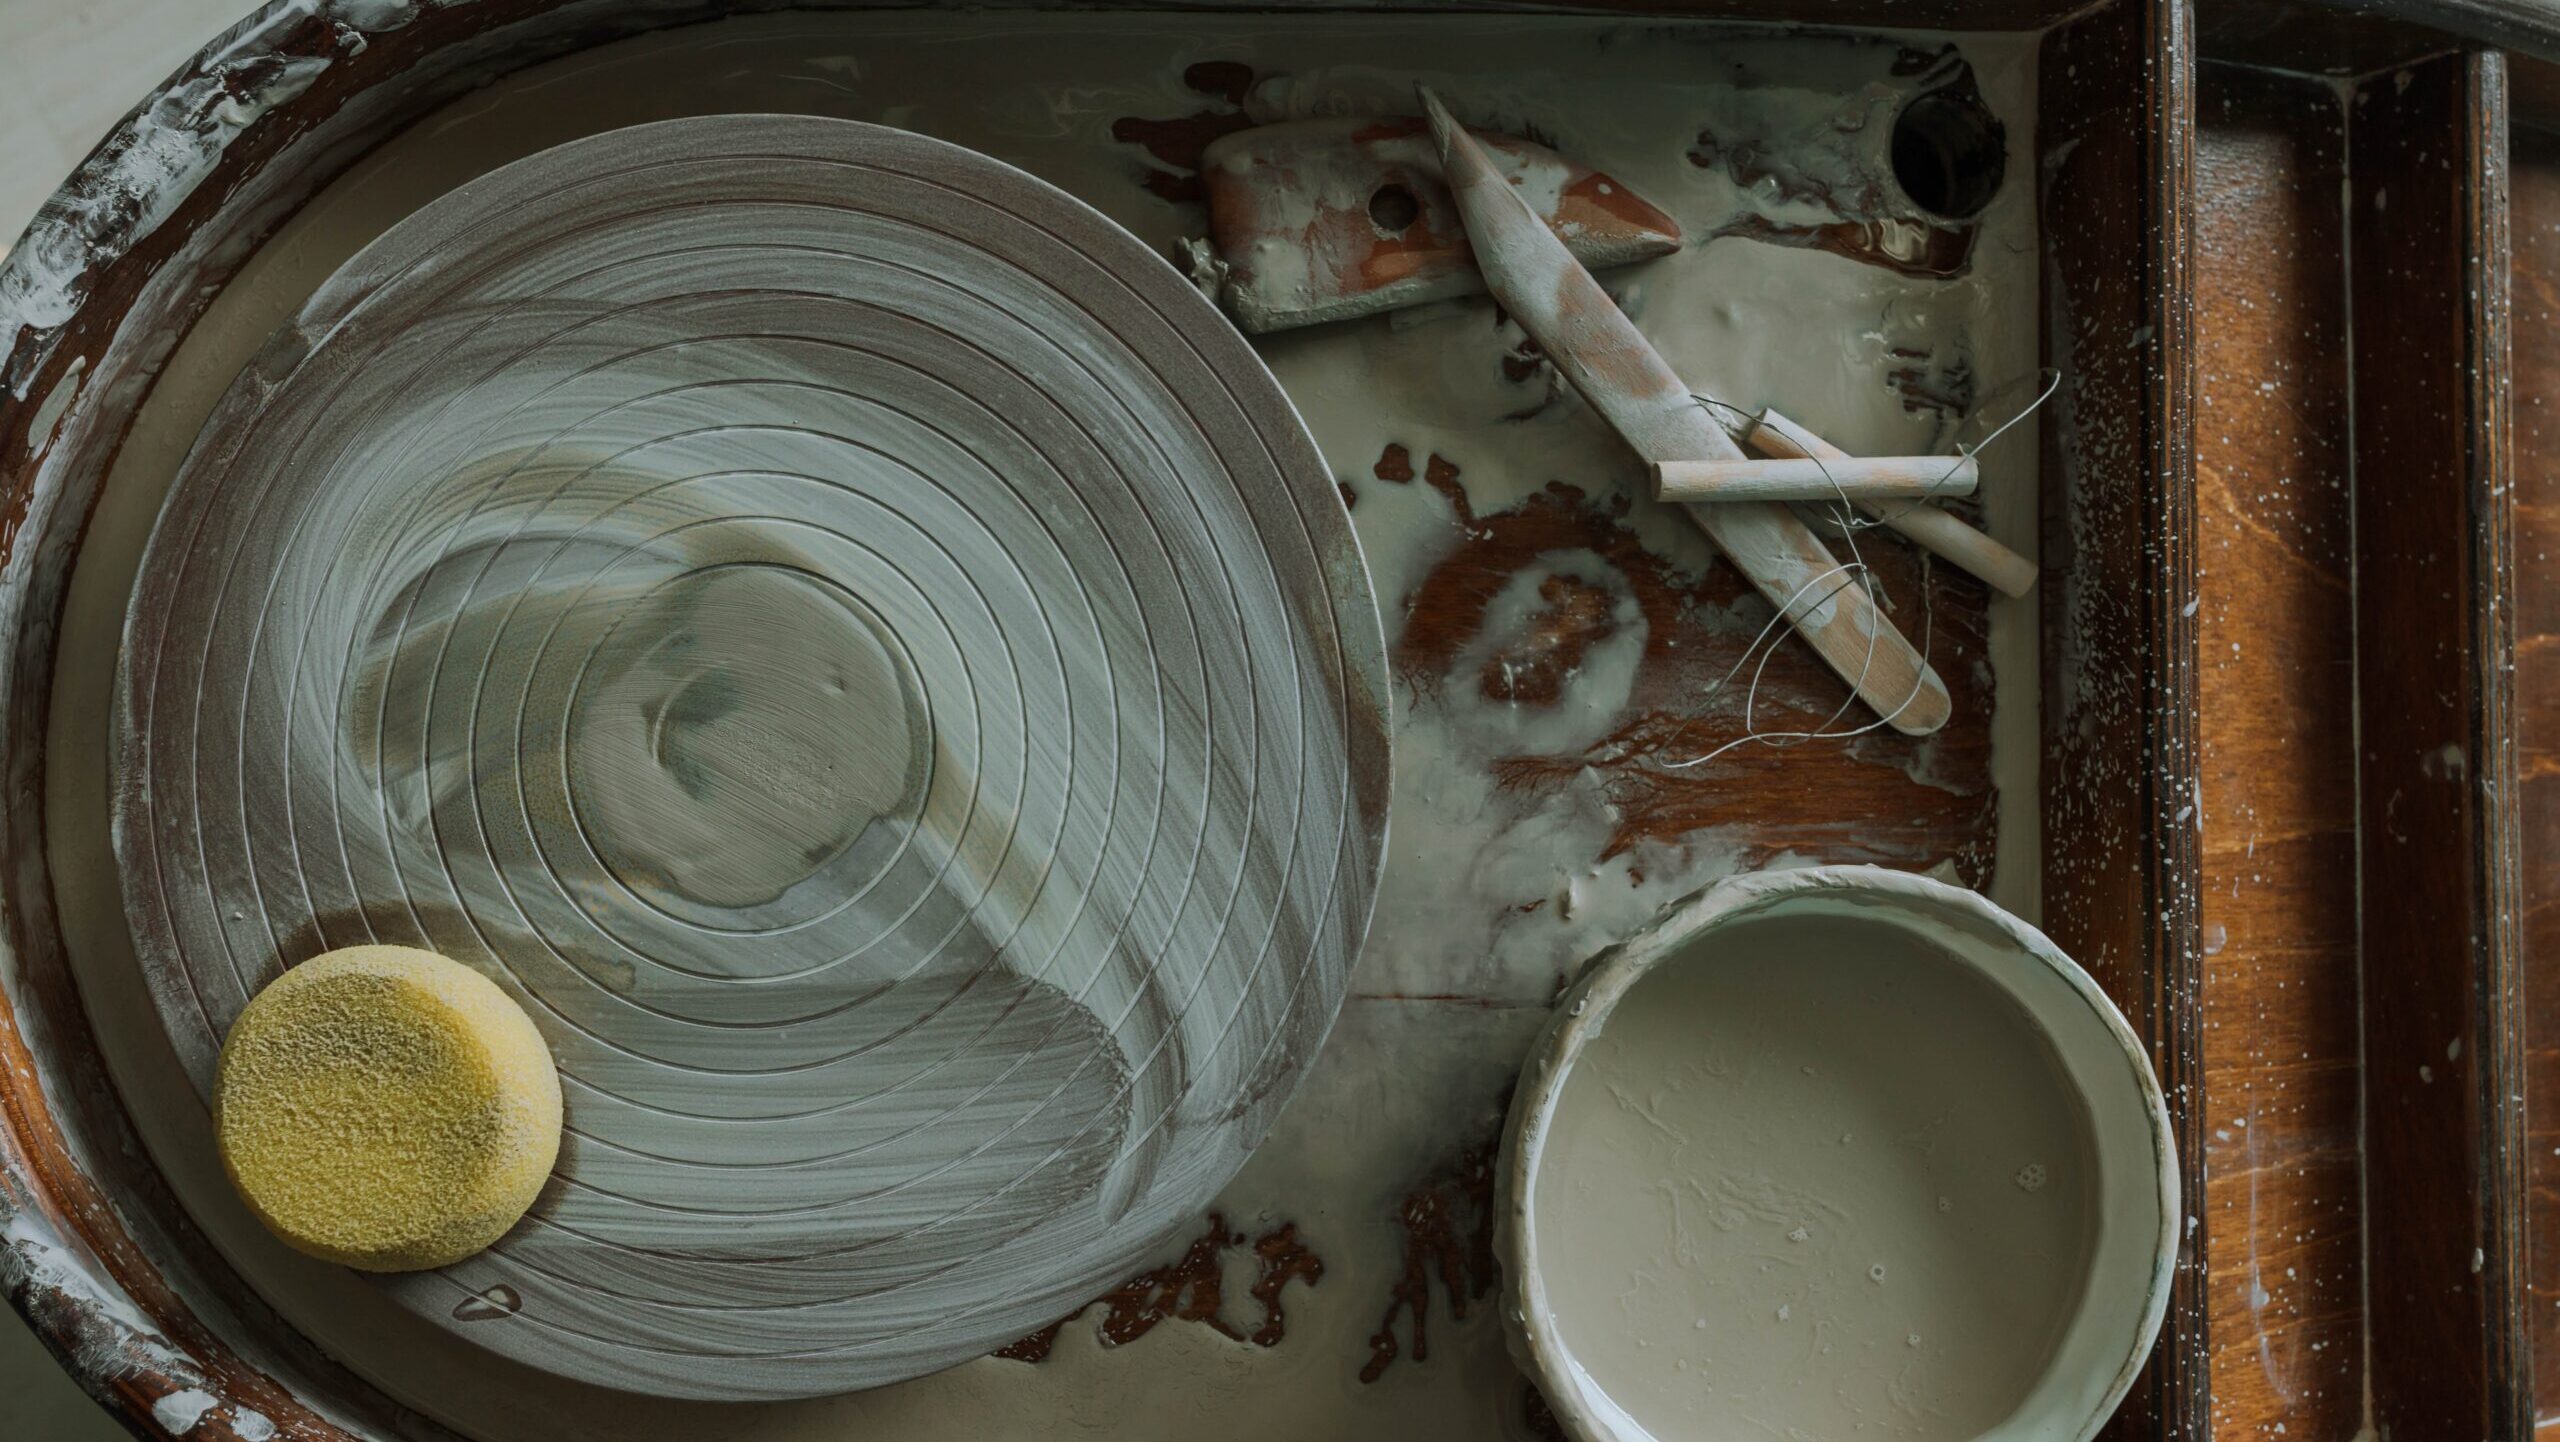
When you embark on your wheel throwing journey, the wire cutter will likely be your first companion. As you open up a fresh bag of clay, this is the tool you’ll use to neatly slice through a fresh block. Expert tip: you’ll want to hold the wire taut to ensure you cut clean through! Once you have a chunk, you’re ready to start wedging.
The wire cutter’s journey doesn’t stop there. As you’re learning how to throw, your wire cutter gives you insight on your throwing abilities. If you’ve ever seen a video where a potter cuts a piece in half, they’re using the wire cutter. You may think to yourself, “that piece looked great! Why would they do that?” And while I often share the sentiment, it’s the best way to understand how you’re throwing—you can inspect the “walls” of your piece, inspect their thickness, and make adjustments for a flawless finish.
Speaking of flawless finish, you will also use your wire tool to separate your piece from the wheel. You’ll want your wire to be taut with the wheel, and cut under your piece to remove it! Adding a bit of water to the piece with your sponge ensures that your wire can glide underneath. You may have to do this a few times to separate it seamlessly!
The Needle Tool
AT A GLANCE
- Measure clay depth
- Trim uneven lips with precision

Meet your precision partner! When you first start throwing, you’ll want to understand how much clay is at the bottom of your piece. Your needle tools help measure the depth—stick it straight through the bottom of your piece, and use your finger to mark where the bottom ends. The sweet spot is about ½ an inch or less. If it’s any more, you may want to work on compressing your bottom.
This fine instrument is also great for trimming any uneven edges at top of your piece—sometimes the lip of a cup gets a bit wonky, so you can carefully use your needle tool to cut off any excess and even things out.
Loop Tool
AT A GLANCE
- Trim clay (in leather-hard stage)
- Create a foot at bottom (in leather-hard stage)

This is your shaping sidekick—this is what you’ll use for trimming, the process of removing extra clay when your piece is leather hard. Your loop tool smooths your piece, and helps you create a foot at the bottom—the sign of a professional wheel thrower.
Wooden Knife
AT A GLANCE
- Tidy pottery base before you take off wheel

Picture the wooden knife as your handy cleanup companion—it’s perfect for tidying up the base of your pottery. With its sharp edge, it trims away any excess clay, leaving a neat and professional finish on your creation, making it ready for firing and glazing.
Ribbon Tool
AT A GLANCE
- Precise trimming (in leather-hard stage)
- Double-sided for versatile designs

The smaller of the two trimming tools, your ribbon tool is for more precise trimming. These are double-sided tools, one with a rounded edge, and one with more of a square edge for different looks. You can also use this tool to carve designs into your piece for some textured fun!
Wooden Rib
AT A GLANCE
- Smooth surface
- Use curved edge for shaping

The wooden rib is the master of creating sleek and elegant surfaces. This tool glides effortlessly over your pottery, leaving behind a smooth, polished finish that elevates your creation to the realm of professional craftsmanship. When strategically placed inside your piece, it helps in shaping and molding the clay, giving it a graceful and rounded form that adds to the aesthetic appeal of your work.
Metal Rib
AT A GLANCE
- Smooth surface

Looking for final touches on the wheel? The metal rib swoops in to save the day. Its smooth surface is ideal for achieving that flawlessly sleek look you’ve been dreaming of. Be careful tho, as its edges are pretty sharp! We’d recommend putting it in an envelope or another container when in your kit.
Sponge
AT A GLANCE
- Keep clay moist
- Smooth surface
- Wipe off glaze

Last but certainly not least, we have the sponge—you’ll literally want to keep this one in your back pocket. Use your sponge to add water to the wheel, making sure that your clay stays workable. It also smooths and refines the surface of your pieces, leaving behind a professional sheen. Oh, and when it’s time to deal with glaze, the sponge effortlessly wipes away any excess, guaranteeing a pristine finish!
Wrapping Up Clay Tool Names
With these clay tool names in your back pocket, you’re well equipped to conquer the wheel! They might feel like strangers now, but with a bit of practice, they will quickly turn into your trusty sidekicks. So go ahead, get your hands dirty, and let these tools unleash the artist within you!
Looking for hand building info? Check out “Ceramics Tools Names: Hand Building Edition“
Leave a Reply