Introduction
Forget the wheel, we’re getting back to basics! With nothing but your hands, clay, and a few trusty tools, starting your new pottery hobby is in reach. From getting our pinch pots just right to rolling those coils, we’ll cover all the hand built pottery basics. Once you’ve got the basic techniques down, you’ll be playing with clay and crafting masterpieces in no time! Ready to get your hands dirty? Let’s get into it!
KEY TAKEAWAYS
- Hand building pottery involves creating pottery without a pottery wheel, relying on techniques such as pinch pots and coils.
- The core building blocks of hand building are pinch pots, coils, and slab-building
- Hand building pottery allows you to push the boundaries of your creativity and create unique, handmade pieces of art.
- Keep an open mind and explore different techniques to uncover your personal style and create pottery that speaks to you.
Getting Started with Hand Built Pottery
When it comes to pottery, hand building is one of the most versatile and accessible techniques. By using your hands and simple tools, you can create unique pieces of pottery that showcase your creativity and personal style.
Like every good craft, the first step is to gather your tools! Here are the basics that you’ll need to get started:
- Clay (if you’re just getting started, and don’t have access to a kiln, air dry is fine!)
- Wire cutter
- Rolling pin
- Knife tool
- Sponge
- Spray bottle
- Needle tool
Looking for more info on the best pottery tools? Good news–we’ve got the lowdown. Dive into our guides for the top beginner kits and the must-have handbuilding tools you’ll wanna keep handy.

Hand Built Pottery Techniques
Got your space and tools all set? Great! Now, let’s roll up those sleeves and dive in. There are many different hand built pottery techniques you can use, but some of the most common ones include:
Coiling: This technique involves rolling out long, snake-like strips of clay and then stacking and shaping them to create the desired form.
Pinch Potting: This technique involves starting with a ball of clay and pinching and shaping it with your fingers to form a pot or bowl.
Slab Building: This technique involves rolling out flat pieces of clay and then cutting and shaping them to create the desired form.
These techniques are your launchpad as a beginner. As you get in your clay groove, you can start to combine techniques and watch your creations truly transform into something amazing. Fancy a large, textured bowl? You can combine coiling and pinching. More into sleek designs? Try slab building for a sharp, geometric vase. Master the common techniques, and then you can really start to get creative.

Pinch Pots
Crafting pinch pots is a simple, fun, and addicting experience. Pinch pots are created by pinching a ball of clay between your fingers to create a small, hollow bowl shape. For the beginners out there, this is a GREAT place to start. It requires minimal tools and allows for maximum flexibility.
The Pinch Pot Process
Creating a pinch pot is a straightforward process that requires minimal equipment. Here’s how to get started:
- Choose a ball of clay and wedge it to remove any air pockets or lumps.
- Roll the clay into a ball and use your thumbs to create a small indentation in the center. This will form the basis of your pinch pot.
- Gently pinch the sides of the clay with your thumb and index finger, working your way around the ball of clay. Continue pinching and smoothing the clay until you have created the desired shape and size.
- Use a rib tool to smooth and refine the surface of your pinch pot, removing any bumps or rough edges.
- Allow the pot to dry slightly before adding any surface decoration, such as carving, stamping, or slip trailing.
- Once the pot is completely dry, it can be fired in a kiln to turn it into a durable, functional piece of pottery.
Follow these step-by-step instructions, and check out this video from The Pottery Wheel. They do a great job breaking down the basic steps!
Why Make Pinch Pots?
- They require minimal equipment
- They’re simple to make
- You can create a wide range of forms: bowls, cups, vases, planters, candleholders, etc…
- You can experiment with different shapes, textures, and surface decorations.

Building with Coils
Another popular hand built pottery technique is coiling, which opens the door to some pretty epic design options. With coiling, you’ll roll your clay into long, snake-like pieces, and then stack and connect them to create your piece. This technique lets you build bigger, more detailed pieces that not only catch the eye but also stand strong. It’s a go-to for those looking to step up their pottery game.
To begin building with coils:
- Take a chunk of clay and pinch it, shaping it until you have a longer, rectangular form
- Using your hands, roll out the clay into long, even coils.
- Score your coils, and stack the coils on top of each other
- Smooth your coils together with your fingers or sculpting tool
- Repeat the rolling and stacking process until the desired height and shape is achieved.
Follow these step-by-step instructions, and check out this video from Andy Ward’s Ancient Pottery. They’re our go-to for coiling tutorials!
Why choose coiling?
- Building up coil by coil lets you achieve taller forms
- With proper technique, coiled pottery can be incredibly stable
- Coiling offers control—You can make every coil thick, thin, or somewhere in-between, depending on your vision for the piece.

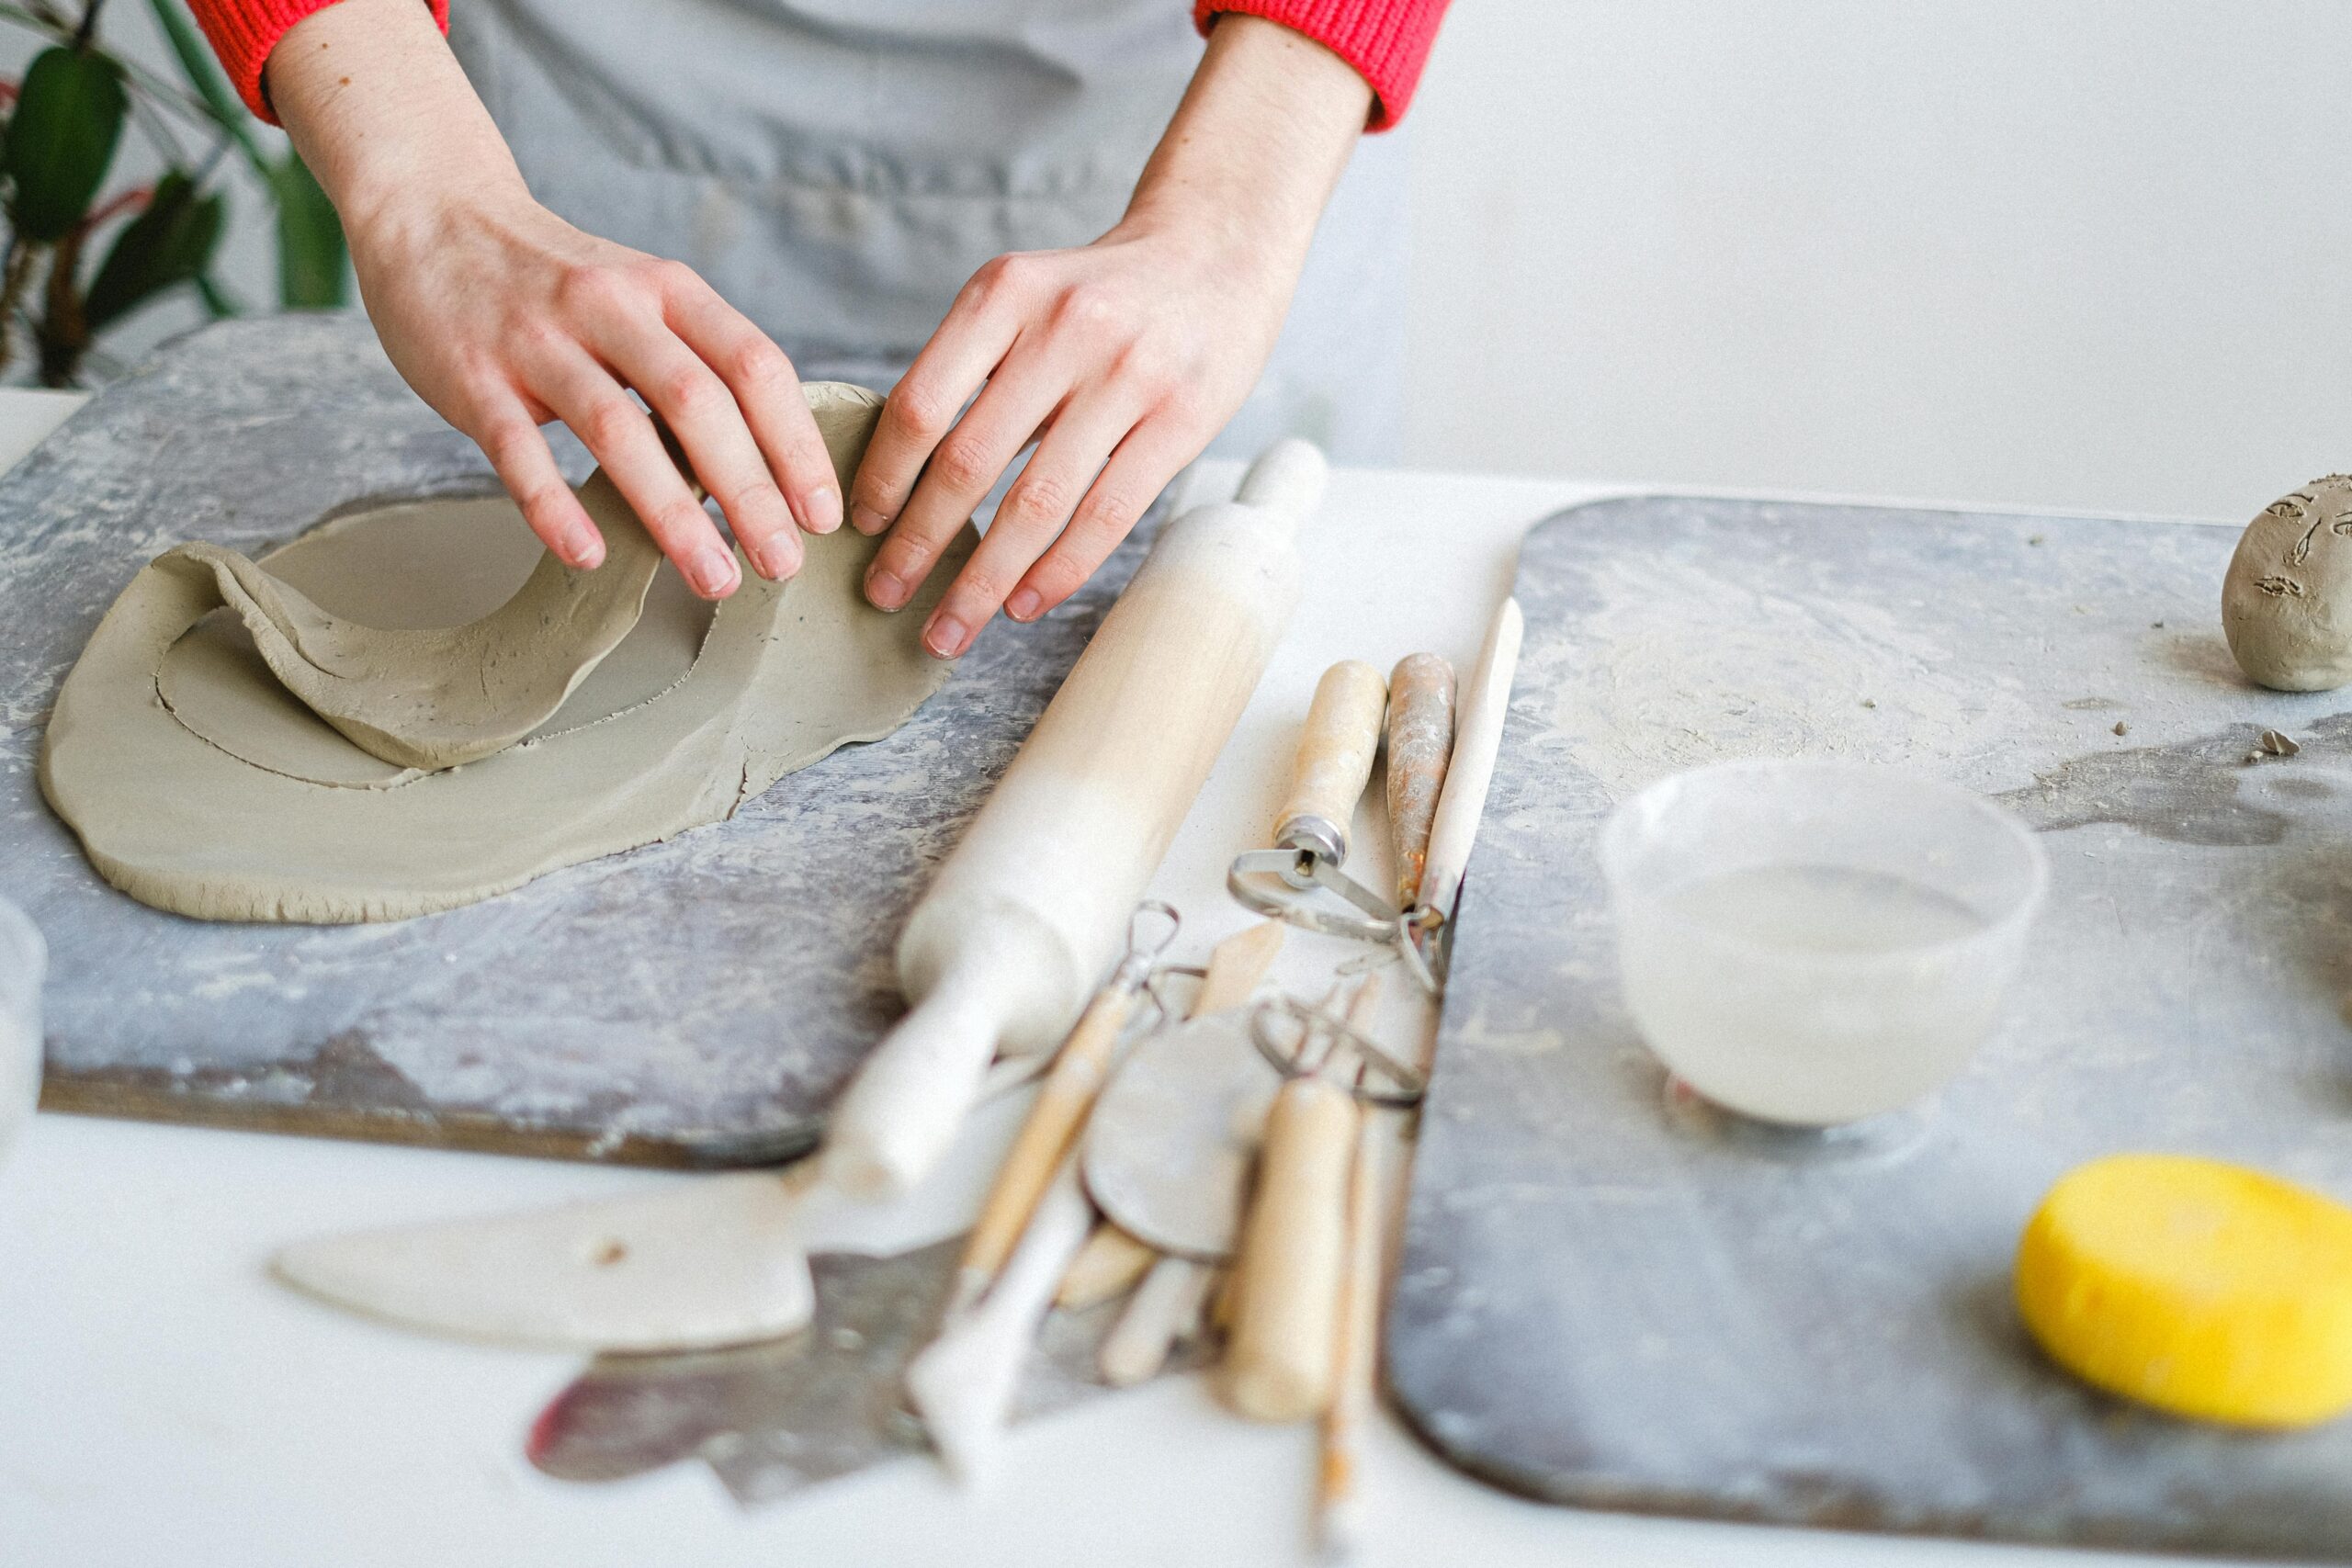
Slab Building
Slab building is a versatile hand built pottery technique that truly lets your creativity shine. With this technique, you’ll roll your clay into a sheet or ‘slab’ and then cut out desired shapes to craft your masterpiece. This technique enables the creation of more geometric, sharp-edged designs, making it a favorite for modern aesthetics.
To start building with slabs:
- Slice off a piece of clay and place it between two guide sticks or rulers.
- Using a rolling pin, roll the clay flat until it’s even and reaches the thickness of your guides.
- Cut out your desired shape using pottery knives or cookie cutters.
- Score the edges where you want to join slab pieces
- Join the slabs using slip or water, pressing them together and ensuring a strong connection.
- Smooth the joints using your fingers or sculpting tools.
- Repeat the cutting and joining process until you’ve built your desired form.
For a detailed demonstration, we recommend this video from Ubi Ceramics.
Why choose slab building?
- It allows for flat surfaces and sharp edges, perfect for modern designs.
- You can create both functional and decorative items with equal ease.
- The technique offers flexibility—create anything from flat tiles to hollow forms, all with the same slab method.
Wrapping Up
And there you have it! A comprehensive introduction to the wondrous world of hand building pottery. Each technique offers its own charm, challenges, and endless opportunities for creativity. The more you practice and experiment, the more your unique style will shine through. So, whether you’re crafting a simple pinch pot or diving into the intricacies of slab building, the canvas is yours to mold. Now, go unleash that inner artist and have fun along the way!
Leave a Reply