While the thought of creating ceramics might conjure images of professional studios, the reality is that you can enjoy this craft from the comfort of your own home! In this guide, I’ll be sharing practical tips and easy-to-follow instructions on how to make ceramics right in your own space. So, get ready to roll up your sleeves, unleash your creativity, and join me as we embark on a journey into the enchanting world of pottery!
Setting up Your Pottery Studio
Before we get our hands dirty, let’s get your pottery studio in order! You’ll want a space that’s not just functional but also easy to clean and safe. Look for an area with wood, vinyl, or tile floors to prevent clay from sticking in carpets. If you have carpeted floors, consider laying down a drop cloth for added protection.
When it comes to your workspace, you have a few options. If space allows, dedicate a sturdy wooden table to your clay work. Alternatively, you can transform any surface into a pottery workspace by using a canvas or vinyl tablecloth. Personally, as an apartment dweller, I find it convenient to turn my kitchen table into my work area using a tablecloth and a wedging board!
To keep your studio clean and safe, make sure to mop or use a Swiffer after each session. This helps to remove any clay particles that could become airborne and be inhaled. Also, have a bucket handy for washing your hands and tools—you’ll want to avoid disposing of clay down your drains, as it can cause clogs! By using a bucket, you can avoid angry landlords, AND you can use your leftover materials to reclaim or use as slip later on.
Choosing Your Creation Style
When it comes to creating ceramics at home, the options are as varied as your imagination. Whether you have a spacious 3-bedroom or a cozy studio apartment, there’s a technique that suits your space and style.
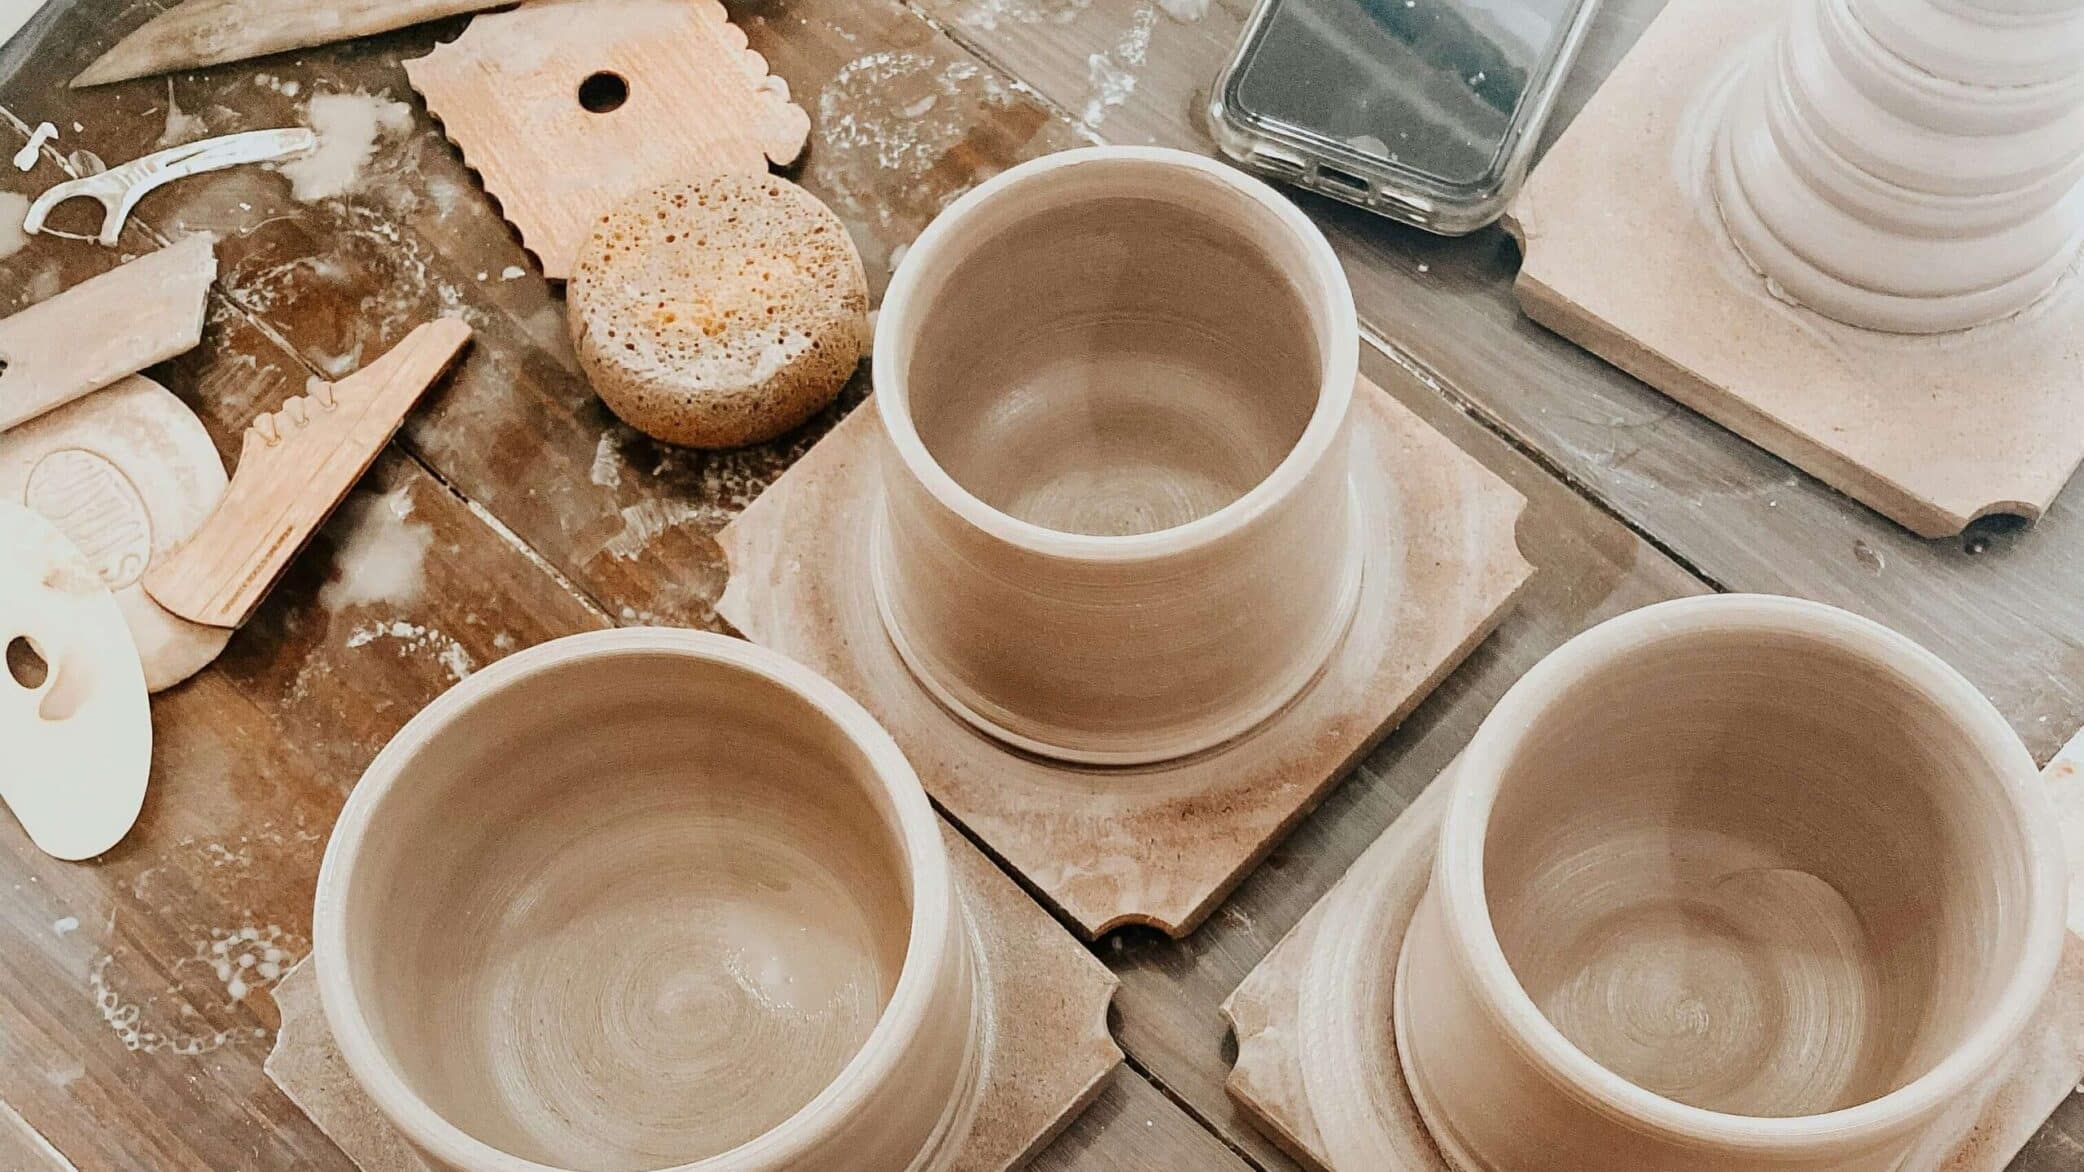
For those that are on the more spacious end, you can definitely use a wheel at home. For wheel throwing, you’ll most likely want to install a clay filtration system to protect your pipes—that way, you can use your sink for clean up! And just remember our tips about cleanliness—since the wheel tends to be a bit messy, you’ll need to be extra vigilant in staying tidy!
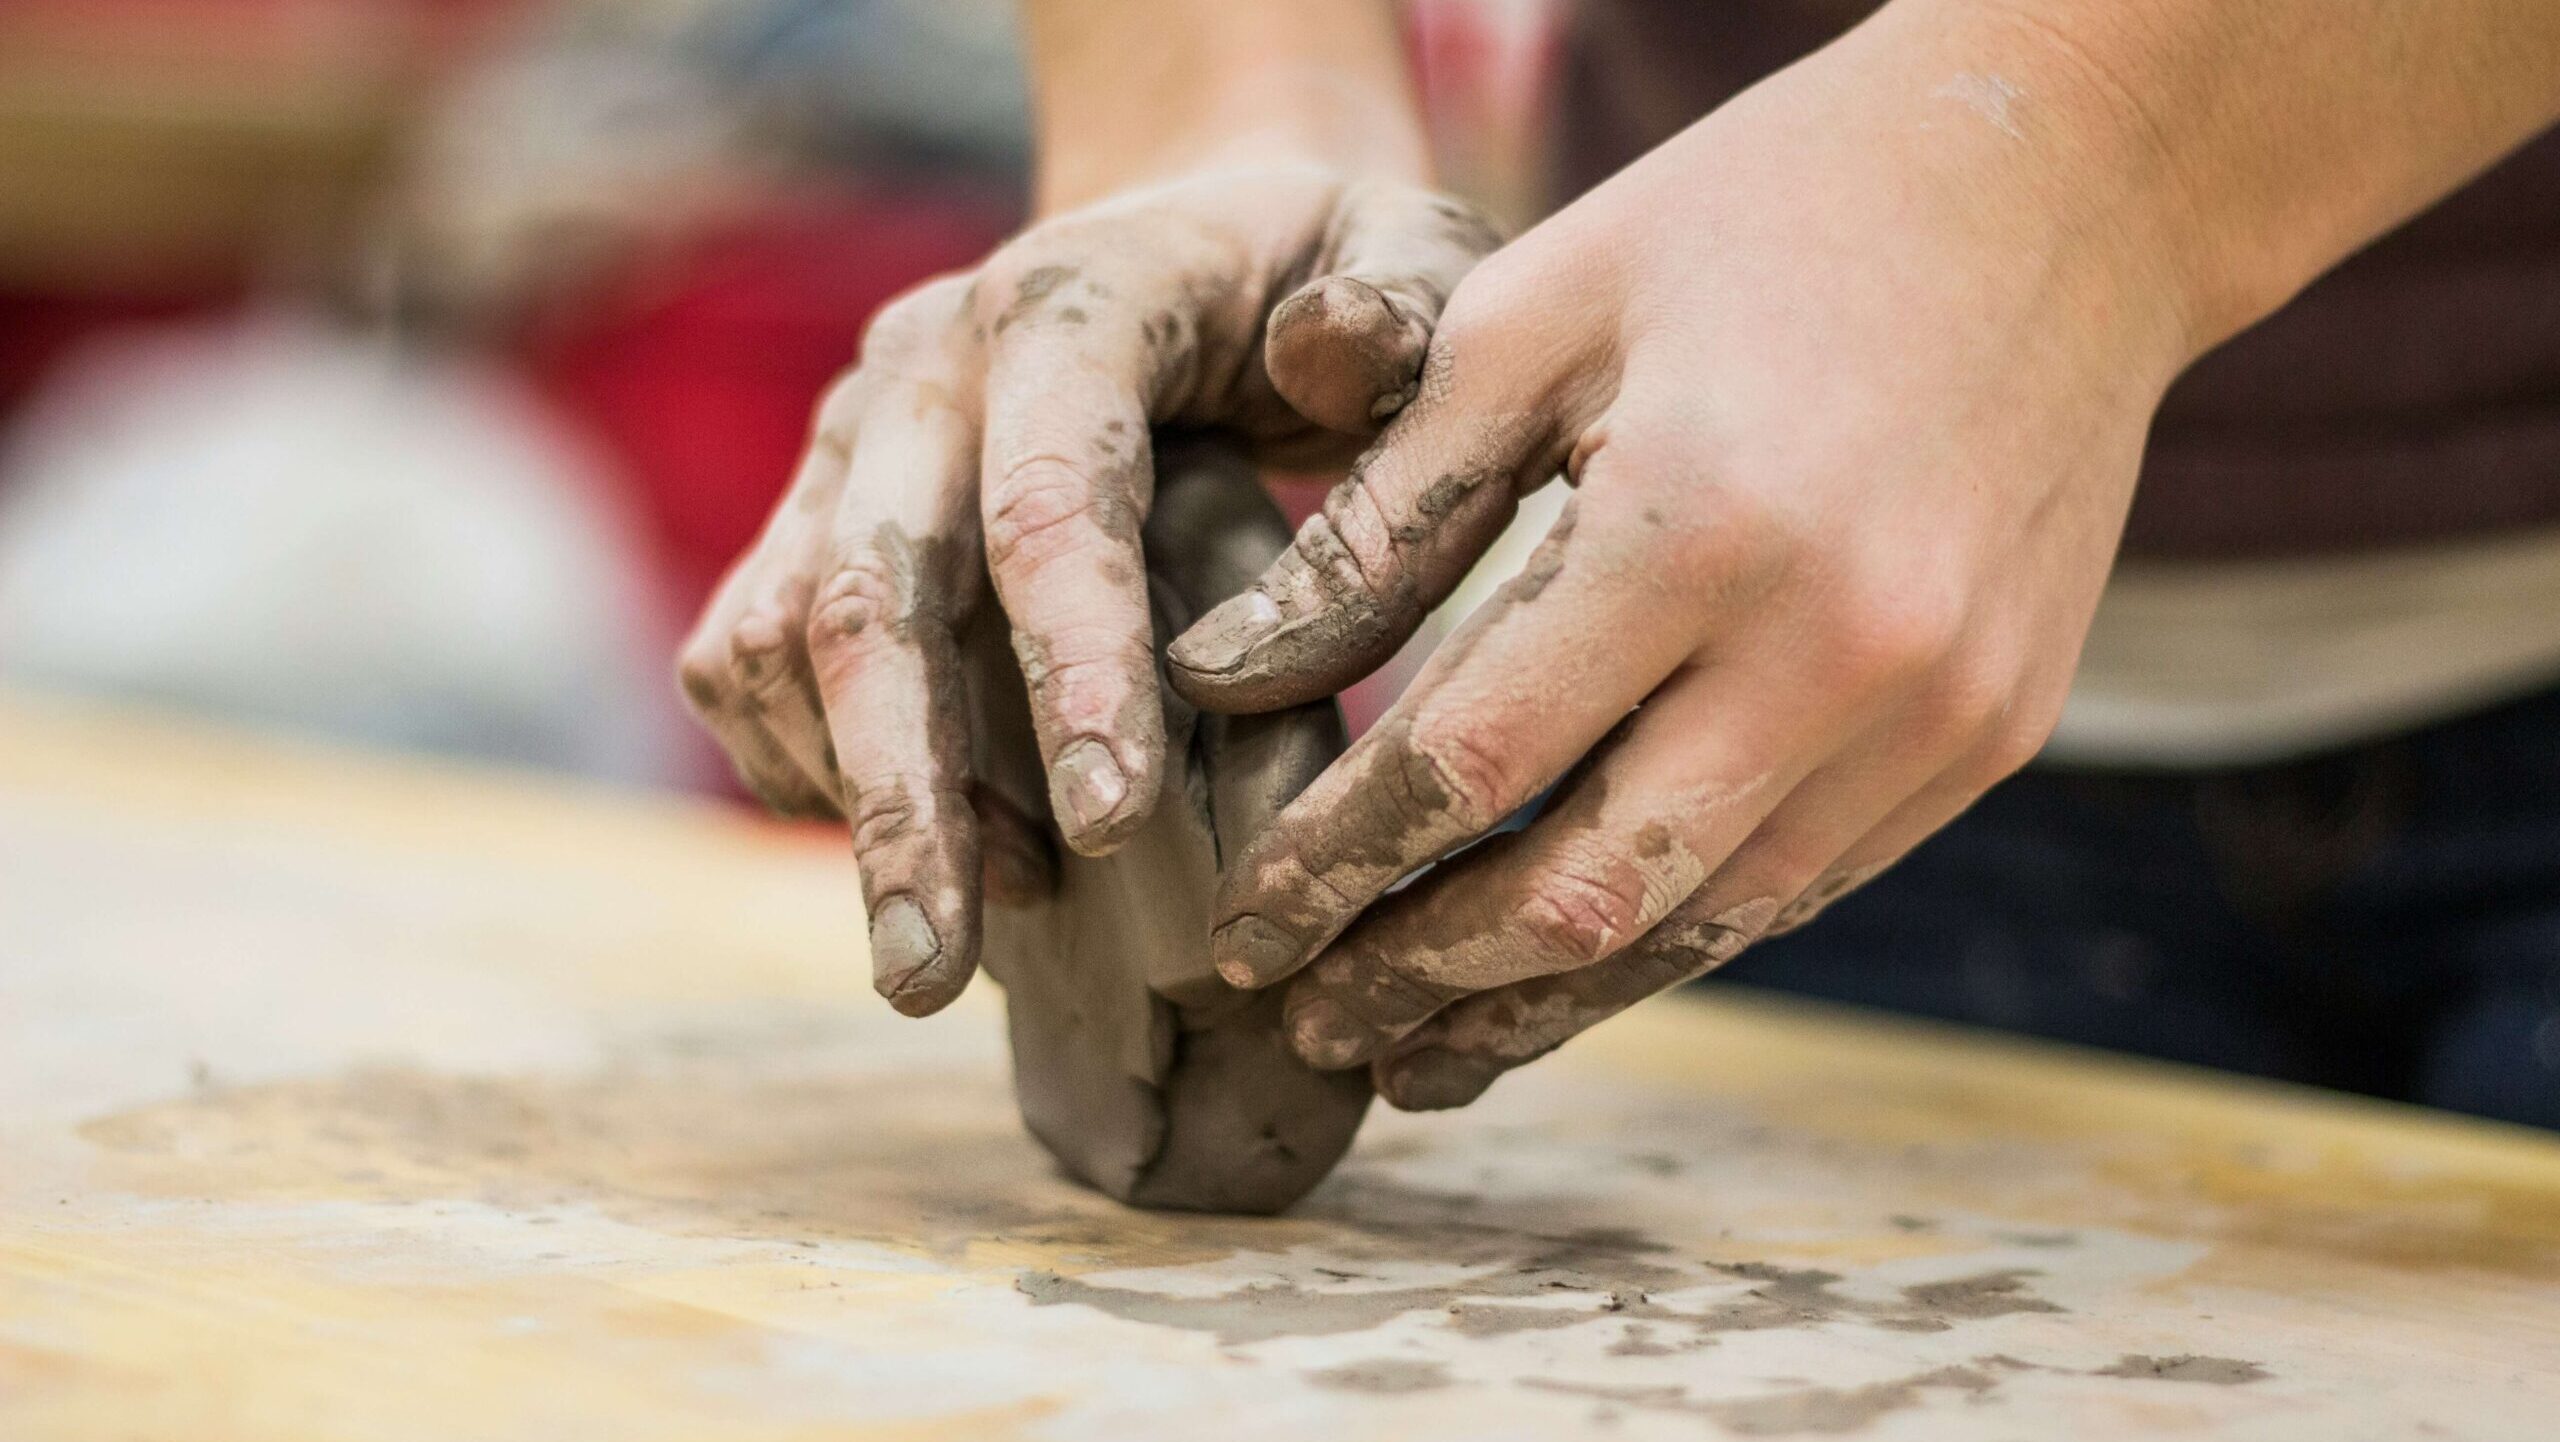
For those of us with limited space, handbuilding is the way to go. Handbuilding involves shaping clay by hand and creating unique forms without the need for a wheel. All you really need to get started is a basic tools kit, and then items like a wedging board, sculpting wheel, rolling pin, and bats are nice to have!
When choosing the type of clay for your creations, you’ll typically encounter two main options: ceramic clay and air-dry clay. Ceramic clay, while requiring firing in a kiln, offers a more professional finish. You can create pieces at home and then take them to a community kiln for firing. On the other hand, air-dry clay is a convenient choice if you don’t have access to a kiln. Just remember that air-dry clay is not food safe, so it’s best suited for decorative items!
Exploring Techniques and Resources
Now that you’ve set up your space and have your tools at the ready, it’s time to dive headfirst into the exhilarating world of pottery techniques! If you’re a newbie potter looking to create from home, online classes are an amazing resource. They offer step-by-step guidance and let you learn at your own pace, all from the comfort of your home. Take a peek at our top picks for “Best Online Pottery Classes” that cater to pottery enthusiasts of every level.
Once you get some of the basic skills down, consider checking out our slab templates and tutorials! Slab building is all connecting flat sheets of clay together to form various shapes and structures. With our slab templates, you don’t have to worry about conceptualizing a 3d piece with 2d slabs, or getting any of your measurements right—we’ve done all that work for you! And, we’ve made sure that all of our pieces can be created from the comfort of your home.
Outside of online classes and tutorials, don’t be afraid to experiment! Pottery is all about pushing boundaries and discovering new techniques. Explore surface textures, try out new tools, and let your imagination run wild. The more you experiment, the more your unique style will shine through.
Glazing Like a Pro
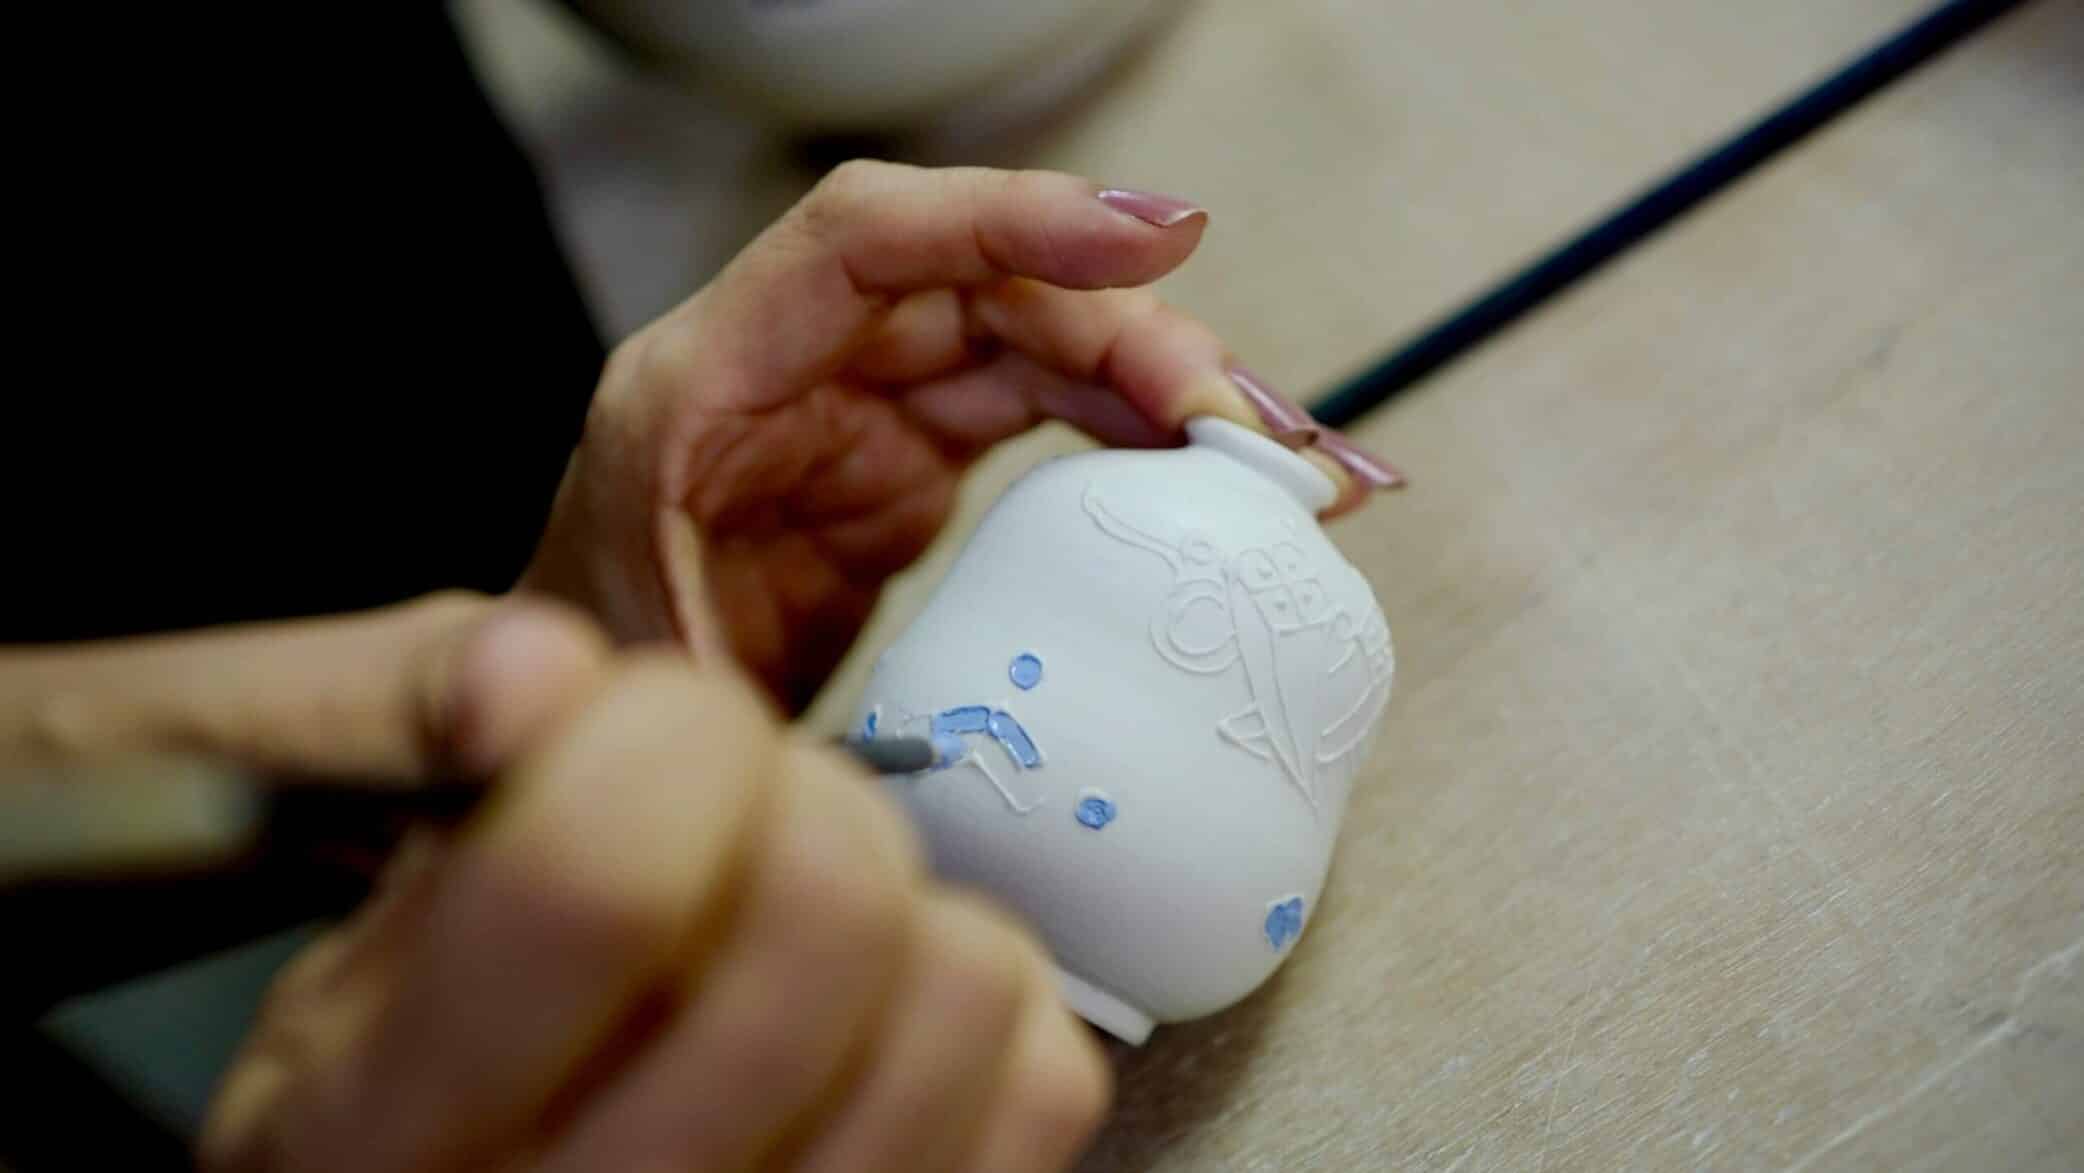
Glazing is the cherry on top of the pottery-making process, giving your creations that extra oomph! When you’re glazing ceramics at home, painting on the glaze is your go-to method. Grab your sculpting wheel and a brush, and apply a generous coat of glaze, following the instructions to a T. Remember, good ventilation is key during this step, so crack open a window or get a fan going to keep the air flowing.
If you’re feeling adventurous and want to try dipping glazes, consider taking the party outside or see if a local studio has community studio hours. Dipping is all about plunging your piece into a glaze mixture, ensuring an even, smooth coverage. It’s a bit of a messy affair, so be sure to protect your workspace and dress for the occasion.
Storing and Caring for Your Creations
Keeping your pottery creations in tip-top shape is a must! In a studio, you’d usually find pieces perched on shelves or bats, wrapped in plastic to dry at a leisurely pace. But if space is a premium or you’re more of an out-of-sight-out-of-mind person, a tall cabinet with shelves can be a fantastic solution. Just tuck your plastic-wrapped treasures inside, close the doors, and voilà – they’re neatly hidden away.
To ensure your clay stays just the right amount of moist while your pieces are drying, repurpose your plastic bags as covers. This little trick keeps the clay from drying out too quickly, preserving its pliability. Plus, stashing your clay in a darker spot, like the cabinet we mentioned earlier, helps keep it from drying too quickly and cracking!
Conclusion
Embarking on the adventure of creating ceramics at home is an incredibly rewarding journey that lets your creativity run wild and results in truly unique treasures. By carving out your own pottery nook, picking the perfect techniques and materials, and diving into the wealth of resources out there, you’re all set for a thrilling ride of self-expression and artistic discovery.
Remember, the heart of pottery lies in the joy of experimentation and the endless pursuit of knowledge. So, roll up your sleeves, embrace new methods, and let your imagination take flight. Armed with the right tools, a dash of patience, and a hefty dose of enthusiasm, you’re well on your way to becoming a home pottery pro. Here’s to many happy hours of potting!
Leave a Reply