Introduction to the 6 Stages of Clay
Ah, the 6 stages of clay. You and your pot are in for quite the ride—from a little lump to the final fire, each stage demands its own special attention. I often say that each stage is a new opportunity to mess up your pot further (kidding…well, kind of). But despite the challenges, every stage also brings its own joys and opportunities to turn your pot into a masterpiece. Today, we’ll explore the 6 stages of clay that every potter needs to know, and share some handy tips to make this journey a bit less daunting. Ready? Let’s do this

Slip
DESCRIPTION. Slip is essentially a watered down version of clay, and is similar to the consistency of icing.
What you can do
- Use slip to seamlessly join two pieces together. This comes up most often when attaching a handle to a mug.
- You can also use it for decorative purposes, and add a bit of textured flourish to a piece.
- Note that slip can be applied to both plastic clay and leather hard clay! (stay tuned for definitions on these two!)
Important tips
- When you’re looking to join pieces together, make sure you score them both first! This is when you take your needle tool and draw little hash marks. Then, you can apply your slip, put your two pieces together, and the bond will hold!
- A squeeze bottle will be your new BFF when using slip for decoration!

Plastic Clay
DESCRIPTION. Plastic clay is the soft malleable stage—clay that comes straight out of the bag is plastic clay!
What you can do
- At this stage, clay has ALL the potential. Let your creativity flow freely, whether you’re:
- throwing on the wheel
- sculpting handles
- coiling
- making a pinch pot. Plastic clay embodies boundless possibilities!
- Plastic clay embodies boundless possibilities!
Important tips
- A piece that hasn’t been fired is referred to as greenware.
- In this form, clay can be recycled. If you mess up a piece, don’t fret! You can take one of two steps:
- Form a “rainbow” with your wet clay
- Spread it on a piece of plaster to dry a bit.
- Once some of the moisture is out, you can re-wedge and try again!
- Shield your creations from premature cracks by ensuring a slow, moisture-regulated drying process. You can cover your piece with some plastic to create a slow drying environment.

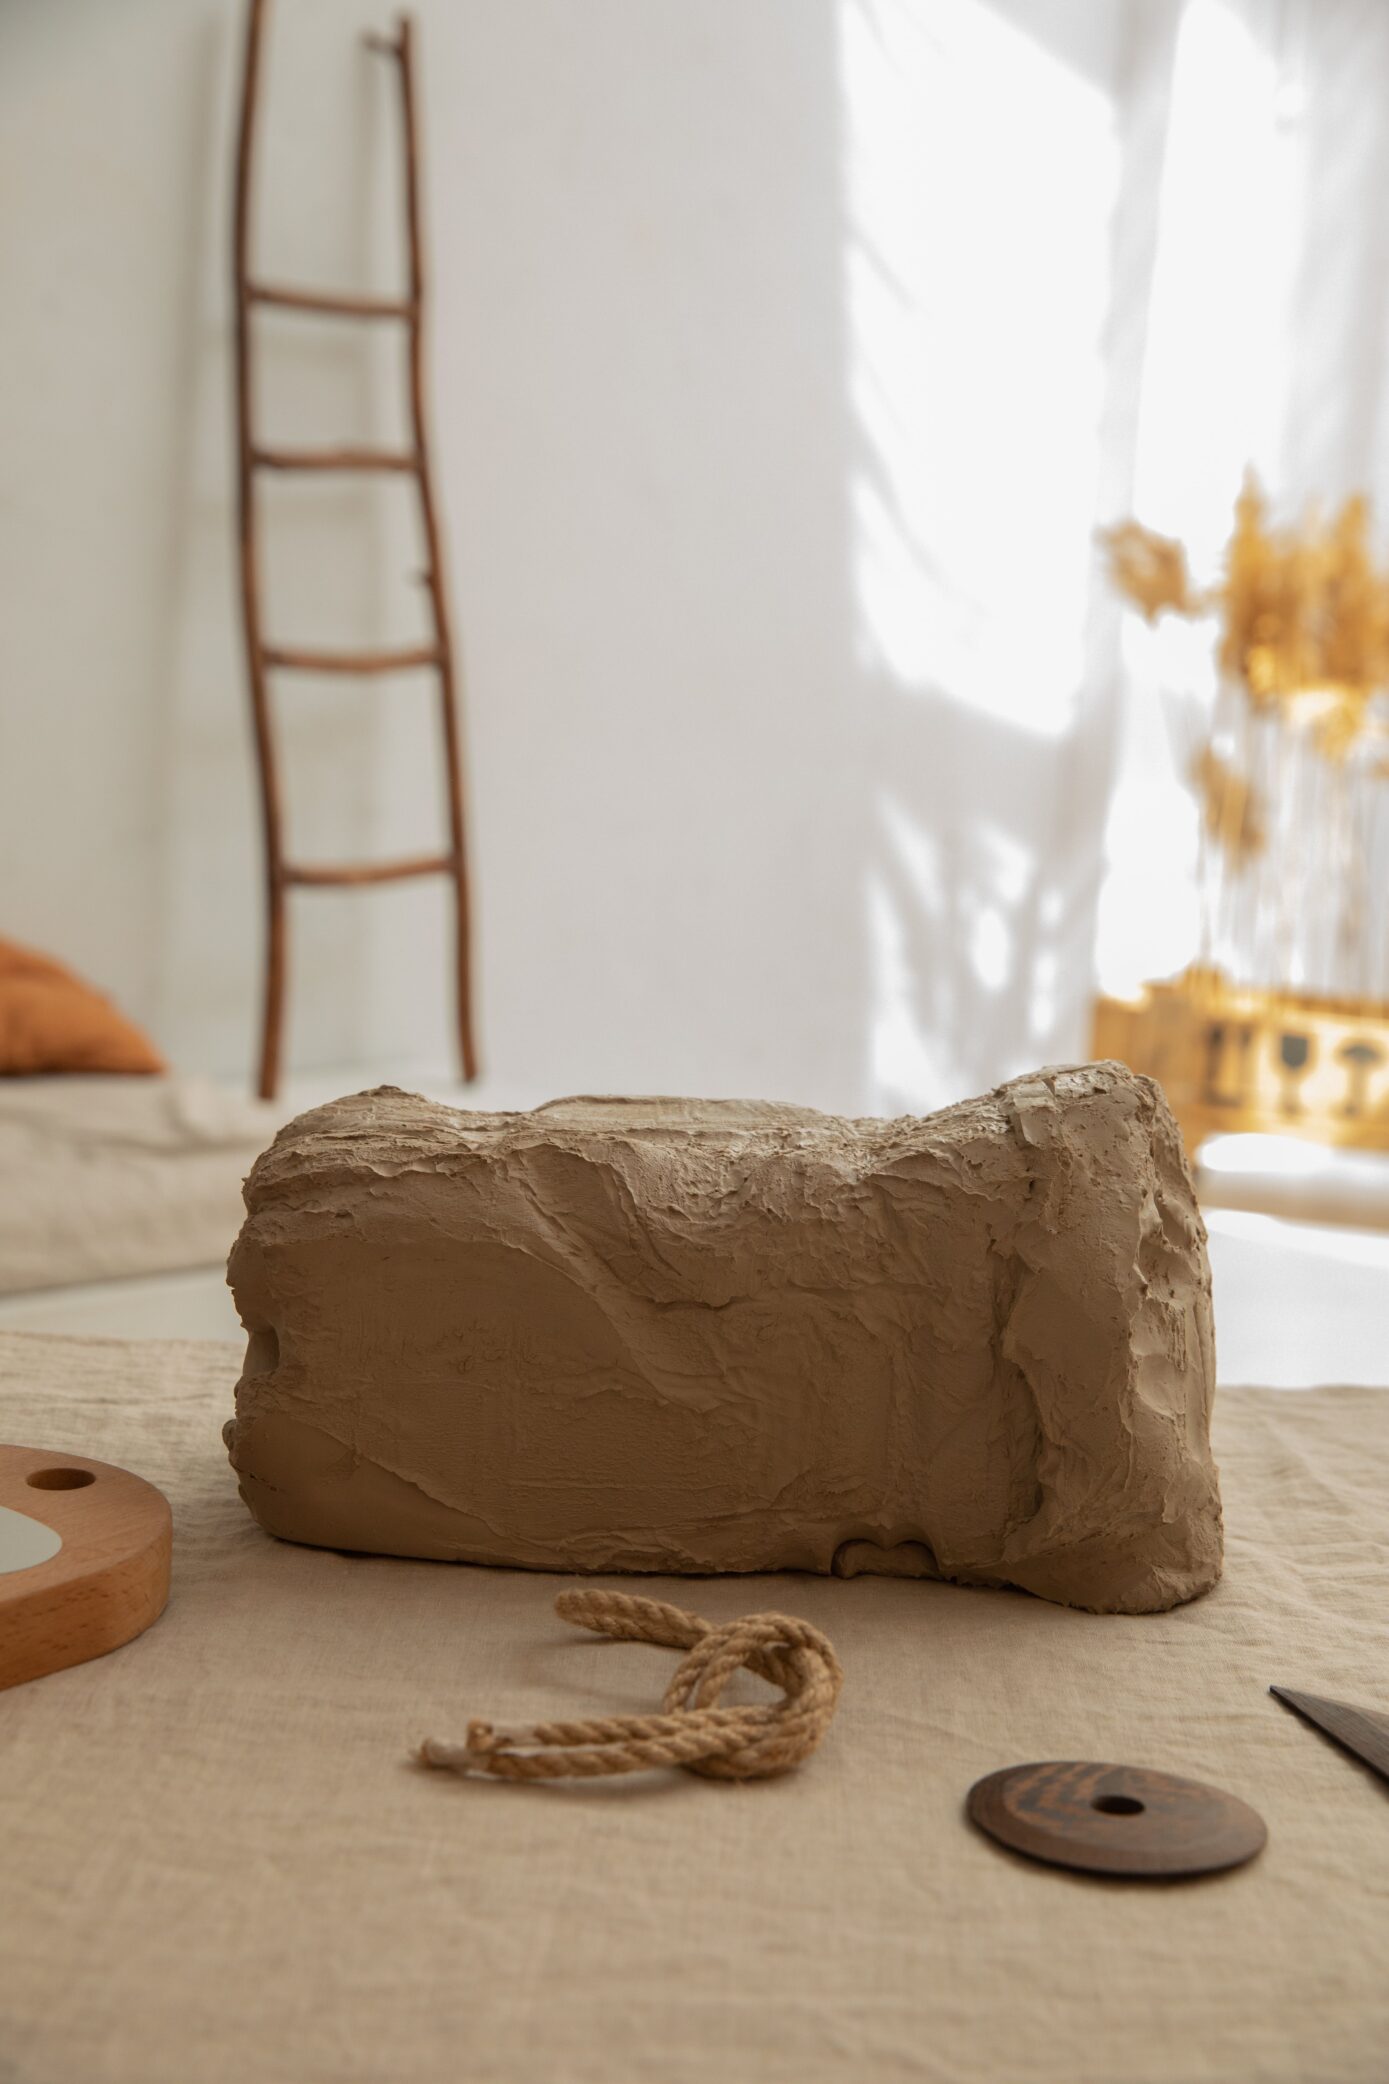
Leather Hard
DESCRIPTION. The leather hard stage is when your clay is partially dry, but still has a bit of moisture in it. It is firm, so it won’t bend to your finger’s touch.
What you can do
- If you’ve thrown a piece, this is when you can trim the bottom
- Trimming is when you remove excess clay, particularly on the bottom of your pot. It is a stylistic choice as well, as you can create a foot at the bottom of your pot.
- This is also the perfect stage for carving designs into your pot.
Important tips
- Clay can still be recycled at this stage.
- Be careful! Though the clay is more firm, you can still do some bending and shaping
- At this stage, you can remove your plastic and let your pot dry completely.

Bone Dry
DESCRIPTION. This is when there is absolutely no moisture in the clay. Your pot is in a very fragile state, and is ready to be put in the kiln!
What you can do
- You can make slight modifications at this stage—use sanding or sharp trimming tools to smooth your pot
- Apply underglaze at this stage. Underglazes are heavily pigmented, so they are often used for more ornate designs. Apply by brushwork or a fine-tipped squeeze bottle.
Important tips
- This is the last stage in which clay can be recycled!

Bisque
DESCRIPTION. Your first fire is called a bisque fire. The clay is then in a porous state, and ready to be glazed. It is very fragile at this point.
What you can do
- Once your bisque ware comes out of the kiln, you’re ready for glaze!
- If you’ve used underglaze, you can add a clear glaze on top, or another coat of underglaze + a clear glaze to make colors even more saturated.
- If you are not using underglaze, pick a glaze or a few and have fun!
Important tips
- Your bisqued piece is called “bisque ware”
- Be sure to avoid getting glaze on the bottom of your piece—it can drip and ruin other pieces or make for a messy kiln. Many potters use wax or simply sponge the bottom to get rid of glaze.
- Glaze is removable with water! If you don’t like what you’ve done, you can sponge it off and start over.

Glazed
DESCRIPTION. Once you glaze your bisque ware, it goes through one final fire. Glaze fires occur at different temperatures, but essentially, a firing cycle occurs at a temperature where the glaze will melt and solidify on the piece.
What you can do
- If you’re happy with your piece, then you are finished!
- If you don’t like the final look, you can keep glazing and firing to get your desired result. Just don’t fire at a lower temperature than your first fire!
- If you like some shine, you can also add luster and do a luster fire
Important tips
- Make sure to understand what temperature the kiln is being fired at. This will impact the saturation of your final glaze. The lower the temperature, the more saturated your colors will be.
Wrapping Up the 6 Stages of Clay
From the silky slip to the fiery magic of glaze, the adventure with clay is a blend of technique and creativity. Each of the 6 stages of clay imprints its unique signature on your creation, and the final fire captures each in a unique way. As you start your clay journey, embrace the unexpected twists that each phase brings! Even if you feel like you’ve made a “mistake”, it often adds a special charm that makes your pieces yours. Let us know which of the 6 stages of clay are your favorites in the comments!
Leave a Reply