Introduction
Got “burning” questions about Cone 10 firing? This guide will cover them all! There are many different firing techniques (as we learned in our article, “Frequently Asked Questions about Cone 6 Firing”), but cone 10 is one of the most revered and sought-after methods. So, we will explore what Cone 10 firing entails, its advantages, the types of kilns suitable for this firing technique, the ideal firing schedule, and the most popular glaze types. Unlock the secrets of Cone 10 firing and discover how it can help you create stunning ceramic masterpieces!
What does Cone 10 mean?
Before we delve into the intricacies, it’s essential to understand what the term “Cone 10” signifies. In ceramics, the concept of “cones” is used to measure the temperature at which a kiln is fired. Each cone corresponds to a specific temperature range, and Cone 10 represents one of the highest firing temperatures in the ceramic world.
Cone 10 firing typically ranges between 2350 to 2380 degrees Fahrenheit (1287 to 1304 degrees Celsius). At this high temperature, the clay body and glazes undergo significant transformations, resulting in unique and striking finishes. It’s important to note that this type of firing requires a kiln capable of reaching and sustaining these extreme temperatures.
What are the advantages?
Cone 10 firing offers a multitude of advantages for ceramic artists seeking to push the boundaries of their craft. Firstly, the high firing temperature ensures that the clay body reaches its maximum vitrification, resulting in extremely durable and long-lasting ceramic pieces. Cone 10 firing also allows for a wide range of surface finishes, from glossy and smooth to textured and matte, depending on the choice of glazes and firing techniques.
Furthermore, Cone 10 firing produces vibrant and intense colors. Many glazes contain various minerals that react and interact at high temperatures, creating stunning visual effects. The unpredictable nature of Cone 10 firing can lead to exciting surprises, as the glazes may exhibit unique patterns, crackles, or even crystals. These unpredictable outcomes add an element of excitement and intrigue to the ceramic-making process.
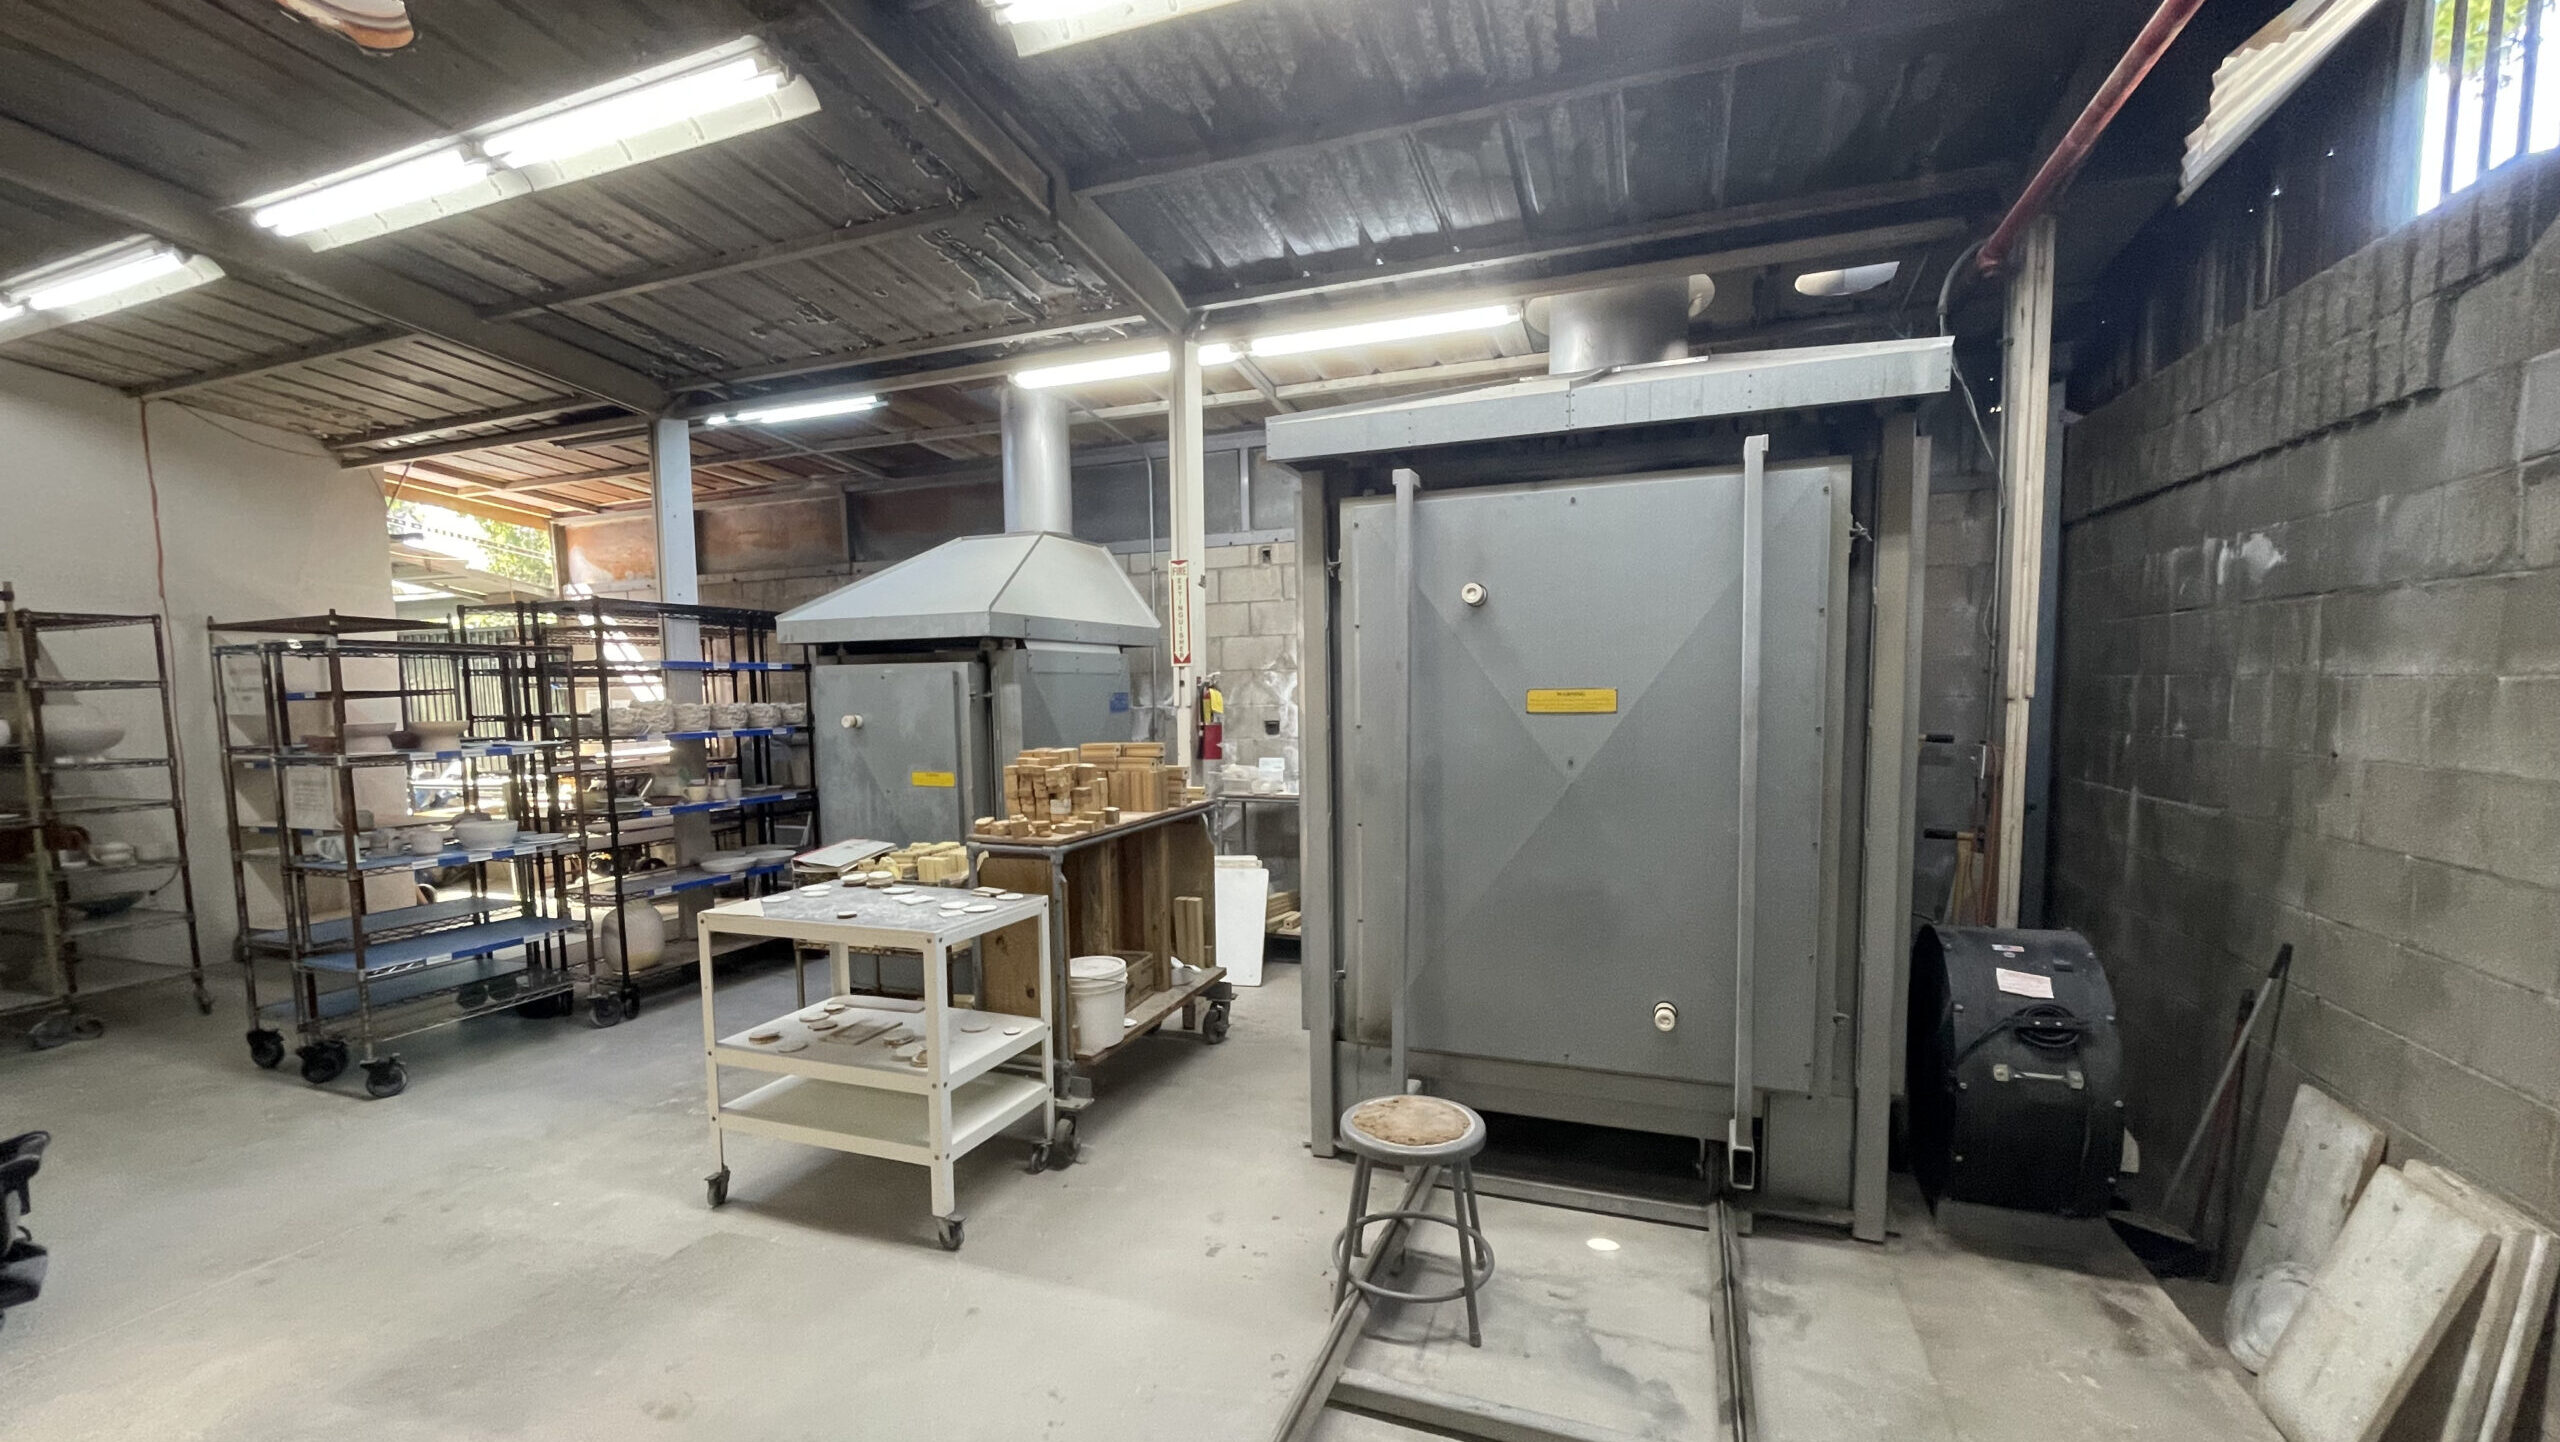
What type of kiln should I use?
Choosing the right kiln for Cone 10 firing is crucial to achieving successful results. Electric kilns with high firing capabilities are popular choices among ceramic artists. These kilns offer precise temperature control and are relatively easy to operate, making them suitable for both beginners and experienced potters. However, electric kilns may burn out faster due to the high temps required for cone 10 firing.
For those seeking a more traditional approach, gas kilns are the most well-suited for Cone 10 firing. Gas kilns provide a unique atmospheric firing environment that can enhance the final appearance of the ceramics. However, they require careful monitoring and a thorough understanding of gas kiln operation and safety protocols.
Ultimately, the choice between electric and gas kilns depends on your personal preferences, budget, and studio setup. Whichever type of kiln you choose, ensure it is specifically designed for Cone 10 firing and meets all safety requirements.
What should my firing schedule be?
A well-planned firing schedule is essential for successful firing. The firing schedule refers to the specific temperature ramp-up and hold times during the firing process. Here’s a general outline of a firing schedule for Cone 10:
- Preheat: Start by allowing the kiln to preheat at a low temperature, typically around 200 degrees Fahrenheit (93 degrees Celsius), to remove any remaining moisture from the clay.
- Ramp up: Gradually increase the temperature at a controlled rate, usually between 150 to 200 degrees Fahrenheit (66 to 93 degrees Celsius) per hour, until reaching around 1800 degrees Fahrenheit (982 degrees Celsius).
- Soak: Once the kiln reaches 1800 degrees Fahrenheit (982 degrees Celsius), introduce a soak or hold time. This allows the clay body and glazes to mature and ensures thorough heat penetration. The duration of the soak can vary depending on the desired effects and the specific clay and glazes used.
- Final ramp up: After the soak, ramp up the temperature at a slightly faster rate, aiming to reach the Cone 10 temperature range of 2350 to 2380 degrees Fahrenheit (1287 to 1304 degrees Celsius).
- Cooling: Once the desired temperature is reached, begin the cooling process. It’s crucial to cool the kiln slowly to avoid thermal shock and potential cracking of the ceramics. A cooling rate of around 100 to 150 degrees Fahrenheit (38 to 66 degrees Celsius) per hour is recommended.
Remember, this firing schedule is a general guideline, and it’s essential to adapt it based on your specific kiln, clay, and glaze combination. Regular monitoring of the kiln’s temperature and atmosphere is crucial to ensure successful Cone 10 firing.
What are the most popular cone 10 glaze types?
Cone 10 firing opens up a world of possibilities when it comes to glaze effects. Here are some of the most popular glaze types that ceramic artists often incorporate into their work:
- Shino Glazes: Shino glazes are known for their vibrant orange color and subtle variations. They often exhibit beautiful crackles and can range from glossy to matte, depending on the specific recipe and firing conditions. Shino glazes are versatile and can be layered or used as a base for other glazes.
- Celadon Glazes: Celadon glazes are prized for their translucent and celadon green appearance. They create a delicate, ethereal effect and are often used to highlight intricate textures or carved designs in the clay. Celadon glazes can be challenging to master due to their sensitivity to firing conditions.
- Tenmoku Glazes: Tenmoku glazes originated in ancient China and are characterized by their deep, rich brown or black color, often resembling a pool of liquid. They are created using iron-rich glaze recipes and can exhibit stunning metallic or oil-like patterns when properly fired.
- Chun Glazes: Chun glazes are renowned for their mesmerizing turquoise or robin’s egg blue hues. They are highly reactive and can produce a range of effects, from glossy and smooth to crystalline and textural. Chun glazes are particularly popular for their ability to pool and flow, creating captivating patterns.
Experimenting with different glaze combinations and layering techniques can yield unique and breathtaking results in Cone 10 firing. It’s essential to test and document your glaze recipes and firing conditions to develop your own signature style.
Leave a Reply