Introduction
This comprehensive guide is designed to answer all your “burning” questions about Cone 6 firing, a critical technique in the pottery process. Whether you’re a beginner who wants to understand what a cone is or a seasoned pro looking to start doing your own firing, understanding the ins and outs of Cone 6 firing is key to achieving the perfect finish on your ceramic pieces. From what Cone 6 actually means to the ideal type of kiln, firing schedules, and popular glaze types, we’ve got you covered. Let’s dive into the details and unravel the mysteries of Cone 6 firing, helping you to bring out the best in your ceramic creations.
What does Cone 6 mean?
In the pottery world, ‘Cone 6’ is like a magic number. It represents a specific temperature range crucial for firing your pottery just right. We measure this using something called pyrometric cones – these little cone-shaped objects melt at different temperatures, helping you gauge the heat in your kiln.
The term “cone” refers to the pyrometric cones that are placed inside the kiln—they measure the effective of both heart and time during the firing process. As the cone heats up, it begins to bend and eventually melts when its rated temperature is reached. Cones are numbered according to the temperature they bend at – Cone 6 bends at around 2,200°F (1,200°C). So, you can think of it as a specific marker on the temperature scale.
When you fire up to Cone 6, it’s not just about heating things up. It’s where the magic happens for many clays and glazes. The clay gets fully densified – it becomes strong and sturdy. The glazes melt in a way that brings out their best – the right color, shine, and special effects.
In a nutshell, this firing temperature is the go-to range for many potters. It’s versatile, allowing you to play with various clay and glaze types, and it’s efficient – getting your creations to look and feel just how you want them without excessive heat. Mastering Cone 6 firing can be a game-changer in your pottery practice.
What are the advantages?
Choosing to fire at cone 6 brings several key benefits that many potters and ceramic artists find appealing. It stands out as a more energy-efficient and cost-effective option compared to higher temperature firings like cone 10. Since cone 6 operates at slightly lower temperatures, it requires less energy to heat the kiln, which can lead to savings on electricity or gas bills. This also positions cone 6 firing as a more environmentally conscious choice.
Another great aspect of firing at cone 6 is the access it provides to a diverse array of glaze types and effects. A lot of glaze recipes are specially crafted for this range, offering a spectrum of finishes from glossy and smooth to matte and textured. Cone 6 glazes are known for their ability to produce vibrant, bright colors. The cooler firing temperature allows for a wider range of glaze colors and effects than you might get with high-fire glazes. This variety means potters can experiment to find glazes that perfectly complement their clay bodies and achieve their artistic goals.
In essence, cone 6 firing stands out for its versatility and practicality. It’s an accessible firing range that still ensures robust clay bodies and a rich selection of glaze options. Whether you’re aiming for bright hues or subtle tones, glossy finishes or matte textures, cone 6 gives you the freedom to experiment and find the perfect fit for your creative vision, all while being an economical and environmentally friendlier option.
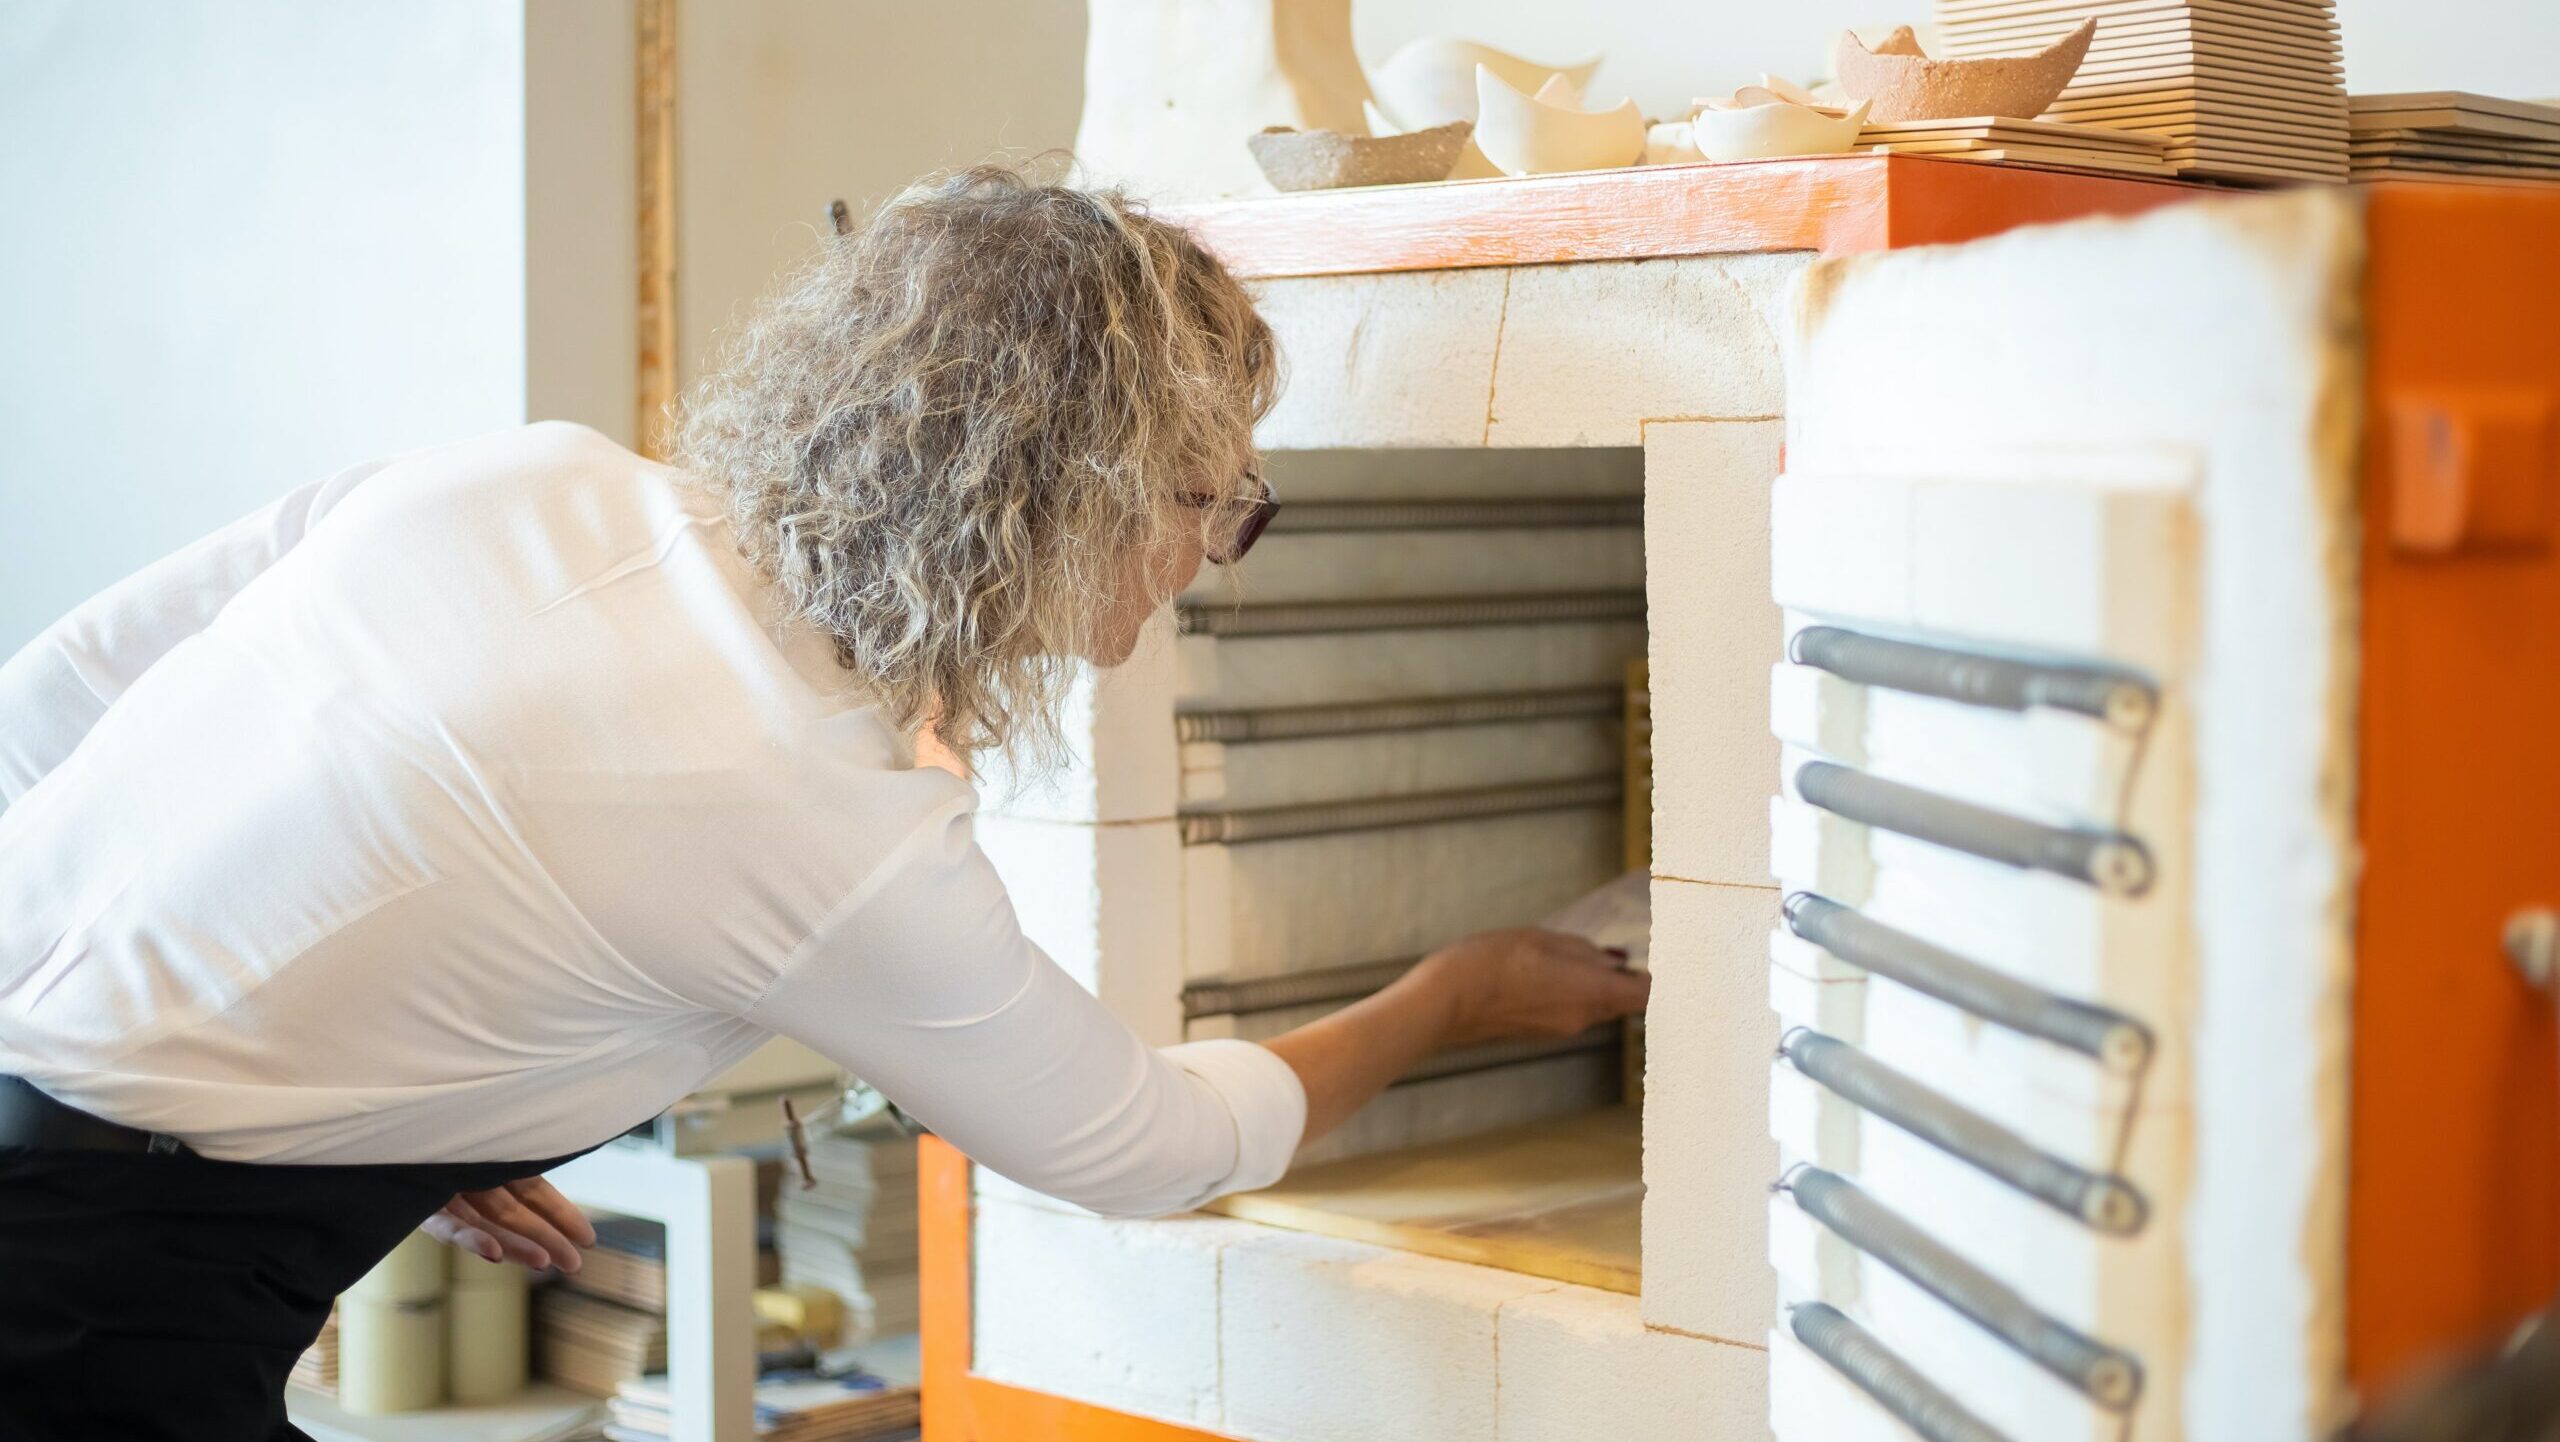
What type of kiln should I use?
Electric kilns are often the go-to for cone 6 firings, and for good reasons. Their key advantage lies in the even and consistent heat they provide, which can be precisely controlled with a pyrometer. This control makes it easy to stick to a specific firing schedule, ensuring you hit those cone 6 temperatures just right.
Another great feature of electric kilns is that they create an oxidizing atmosphere. This means there’s plenty of oxygen available during the firing process. Such an environment is ideal for bringing out the best in your glazes. Expect bright, vibrant colors and glossy finishes on your pieces. When you fire in an electric kiln, your glazes will display their most saturated and striking effects, truly bringing your ceramic art to life.
What should my firing schedule be?
A typical firing schedule involves a slow ramp up to about 100 degrees F per hour until you reach 1000-1100F. At this point, the schedule switches to about 200-300 degrees per hour until reaching the peak temperature of 2200F. It’s crucial to hold at peak temperature for enough time to allow the kiln environment to fully reach equilibrium. A good rule of thumb is to hold for at least 15-30 minutes once the kiln hits 2200F.
The cool down phase is also important for good results. Let the kiln cool slowly at its natural rate, with the door closed, for 4-6 hours. Avoid opening the door until the temperature reads 1000F. Shocking the ware with rapid cooling can lead to cracks and other defects.
Slower ramp up and cool down times are preferred for Cone 6 firings, as rapid temperature changes put more strain on the clay and glazes. Ramping up at 100-200 degrees per hour allows ware to heat evenly and prevents flaws like scumming or pinholing in glazes. Cooling down slowly over 4-6 hours gives the clay and glaze chemistry time to normalize as the temperature drops.
What are some important tips for beginners?
As a beginner focusing on Cone 6, keep logs of your firing schedules, times, and results. Test sample pieces with glazes first before firing a large load. Place several witness cones around the kiln so you can visually confirm when Cone 6 is bending. Program electric kilns carefully and avoid venting gas kilns too quickly. Getting to know your kiln’s behavior will let you refine your process over time.
What are the most popular cone 6 glaze types?
Glazing is a critical part of achieving the desired results in Cone 6 firing. With a wide variety of glaze types formulated specifically for Cone 6, there are many options to explore. However, understanding glaze chemistry and proper application techniques are key for beginners.
There are a few common glaze types frequently used by potters firing at Cone 6:
– High-gloss glazes – These contain high amounts of fluxes like soda, lithium, and boron to produce a glassy, shiny surface. They work especially well on porcelain and stoneware clays.
– Textured matte glazes – These use materials like zinc, calcium, dolomite, and kaolin to create a tactile, matte look. Great for accenting or contrasting glossy areas.
– Brushing glazes – Made with high amounts of frit or finely milled materials, these have a fluid texture good for brushwork decoration.
– Mid-range satin glazes – These strike a balance between matte and glossy finishes with a soft satin sheen. Often used as a base glaze.
P.S. If you’re looking for more info on cone 10 firing, check out our “Frequently Asked Questions About Cone 10 Firing“!
Leave a Reply